HOW WE SHOT IT - Tips & Tricks to improve your wedding photography
The journey of a photographer from being a hobbyist to a professional relies totally on their learning and practicing them in real time scenarios. Mastering your gear and learning new techniques will help you achieve results which can blow away your clients. We are often asked about how we got a particular shot and the technique used to achieve it. Therefore, we thought of coming up with a blog which will talk about some of the techniques used by us to create something different for our clients. Happy Clicking!
Light Sandwiching (That's what I call it!)
Let's consider a scenario:
1. Night Time
2. Dimly lit - Mostly candles or lanterns
3. No option to bounce light
4. Outdoors
Yes, it's one of the most difficult situation to shoot in and believe me, we can still get some great shots in this scenario.
This is what I do:
1. Set the camera to a higher ISO (Around ISO 1600)
2. Drop the shutter speed to around 125 or 160 of a second. Always remember, slower shutter speed brings back some ambient light and flashes freezes the action. You can try a slower shutter speed to get some creative effects.
3. Sandwich the subject using the key light (On camera flash) and rim light (Back light/ side light) to bring them out from the background.
4. The key here is to keep the backlight at lower power and directional to avoid the light spill.
Exif: Nikon D810, F/5.6, 1/160 sec, 24mm
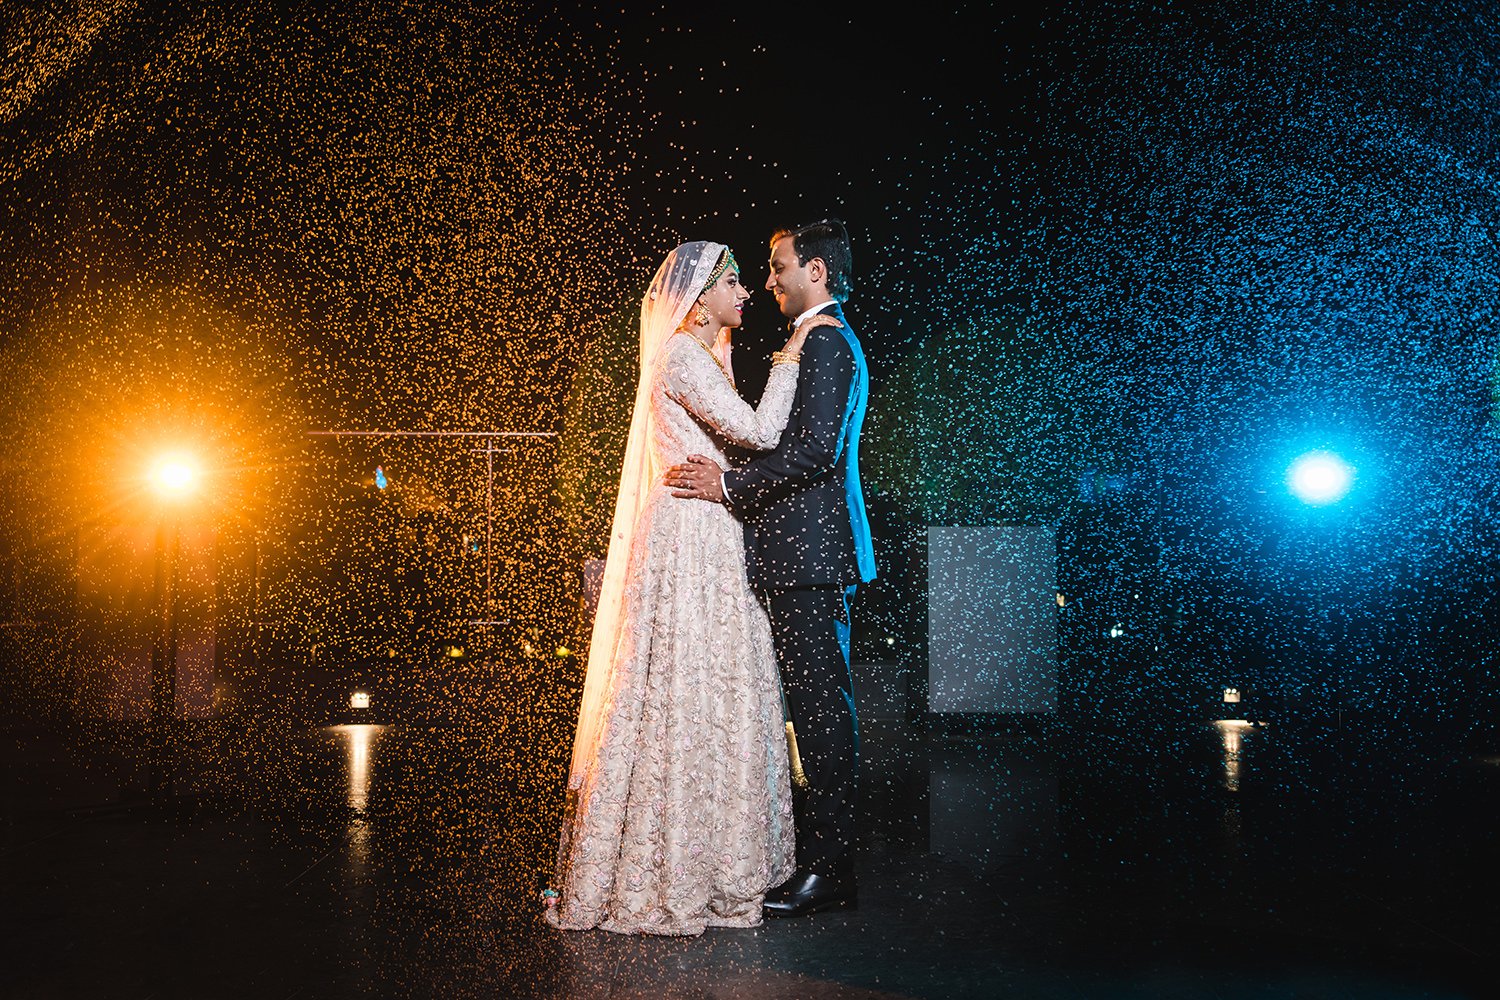
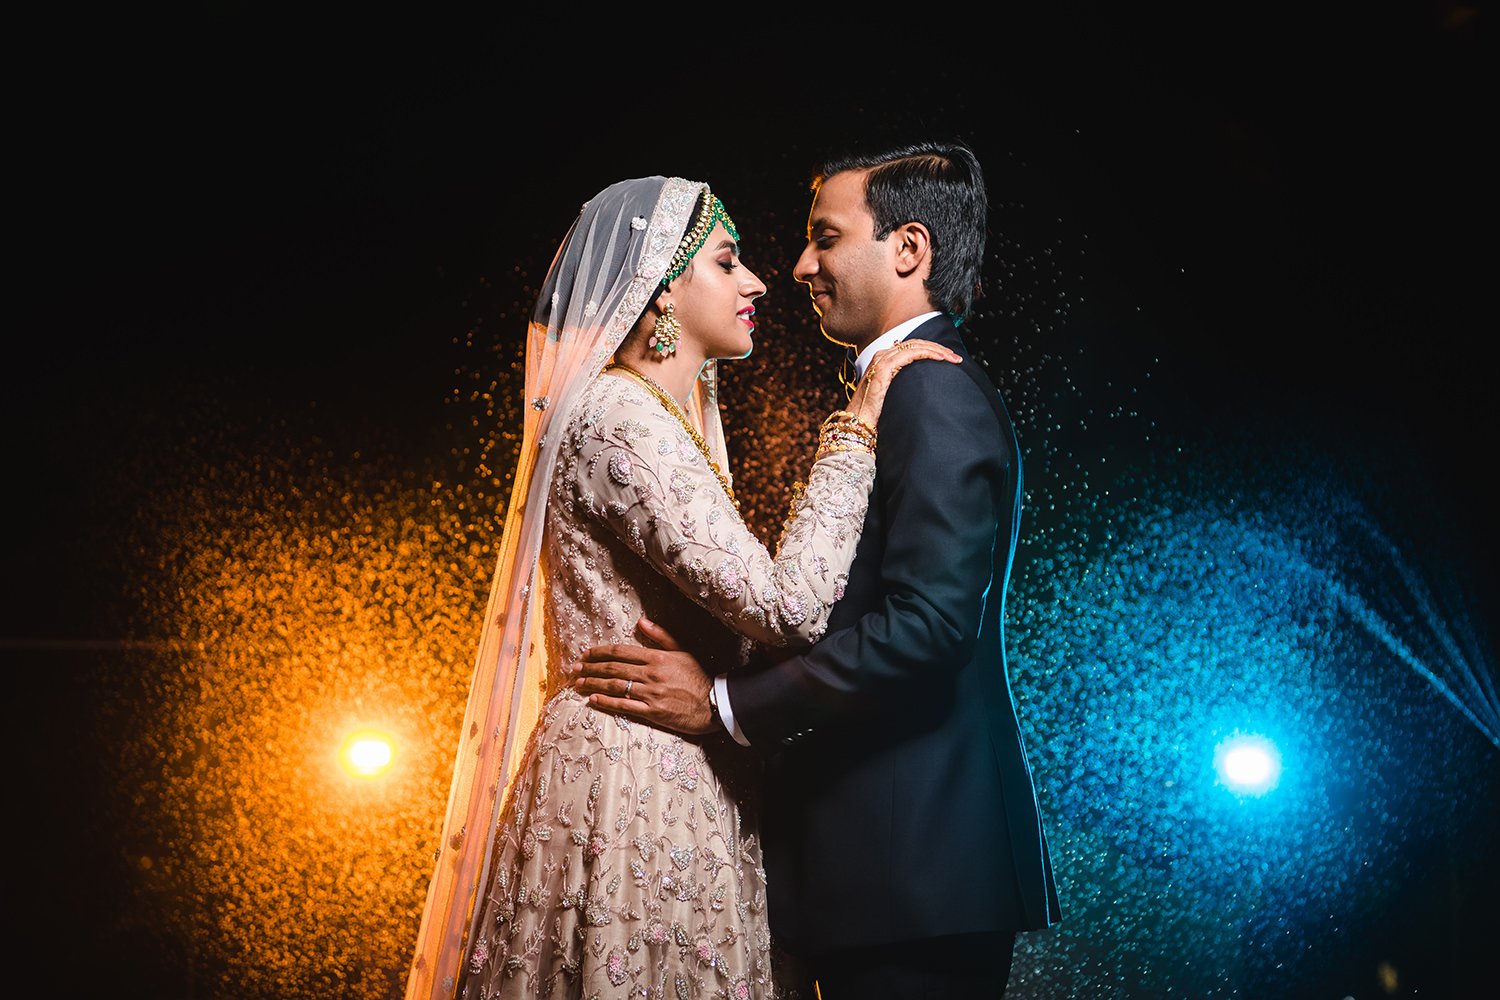
Create a frame when you don't have one!
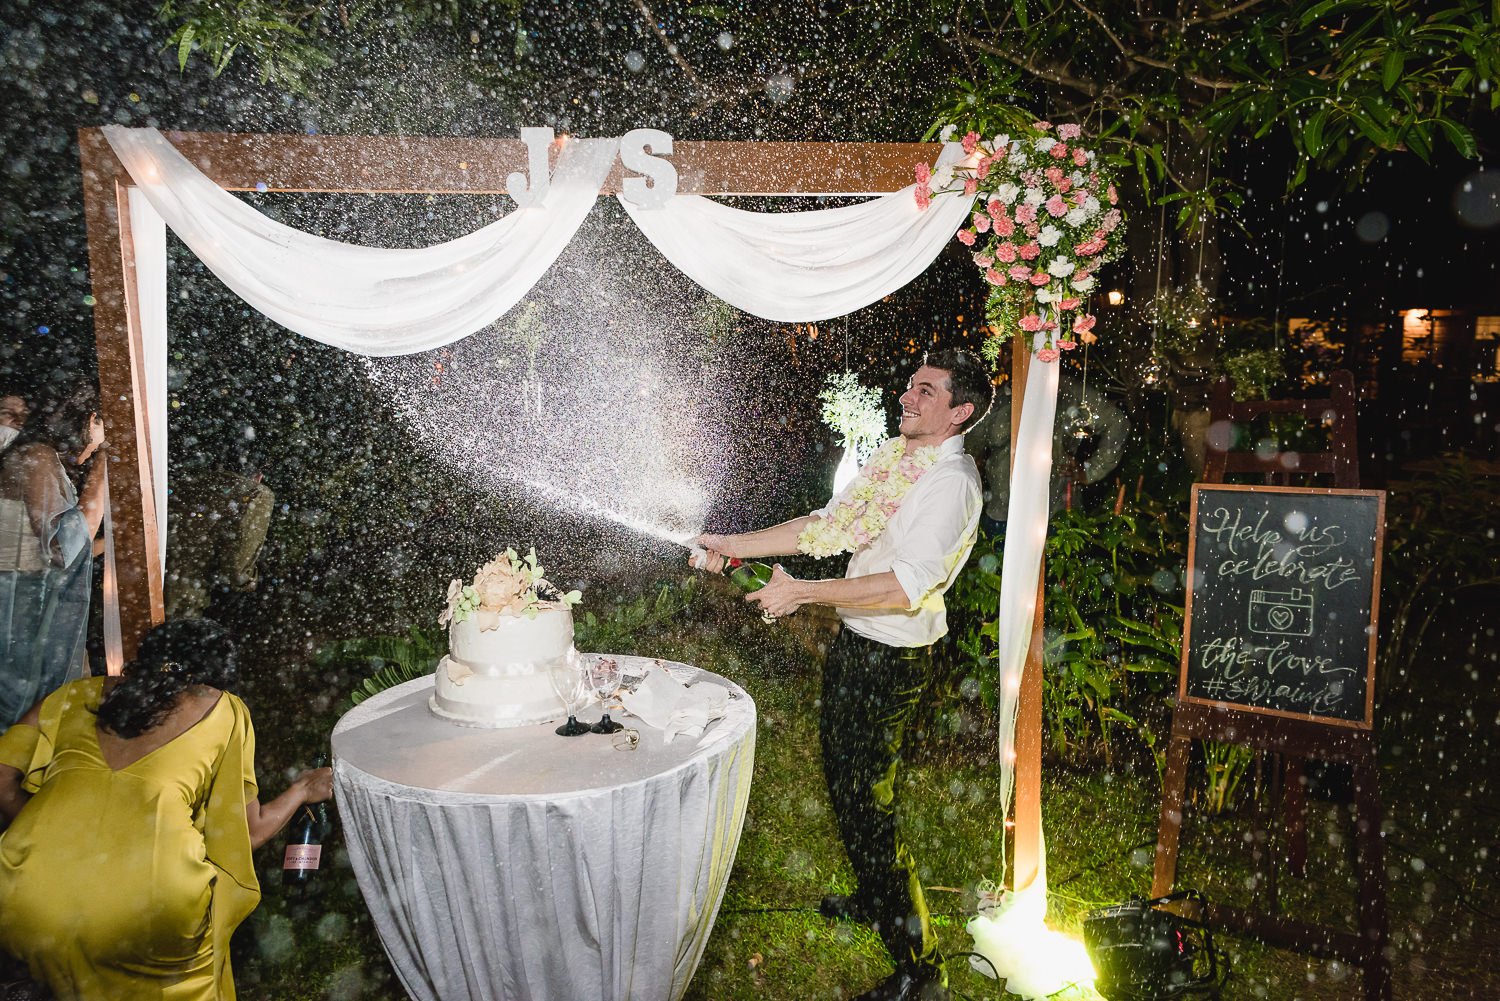
Actually what makes it interesting is the fact that there were absolutely no frames at this wedding venue where we could make the couple stand and take pictures. We love such challenges as it helps us to push our creative limits and see what actually are we as a team capable of. All of us brainstormed and figured out the possibilities with the available resources.
There were many small size water bottles available at the venue. We borrowed a safety pin from the Bride's friend and made few holes in the bottle cap. We had 2 extra flashlights with grids and creative gels. We decided to place them on two separate tables with two different colored creative gels, place the couple in the center lighting them up from the front and on the count of 3 two of my team members😁 started squeezing those water bottles to get this effect.
Once again thanks to our beautiful couple for completely trusting us and giving us room to experiment.
Exif: Nikon D850, 70mm, f/4, 1/160 sec, ISO-400
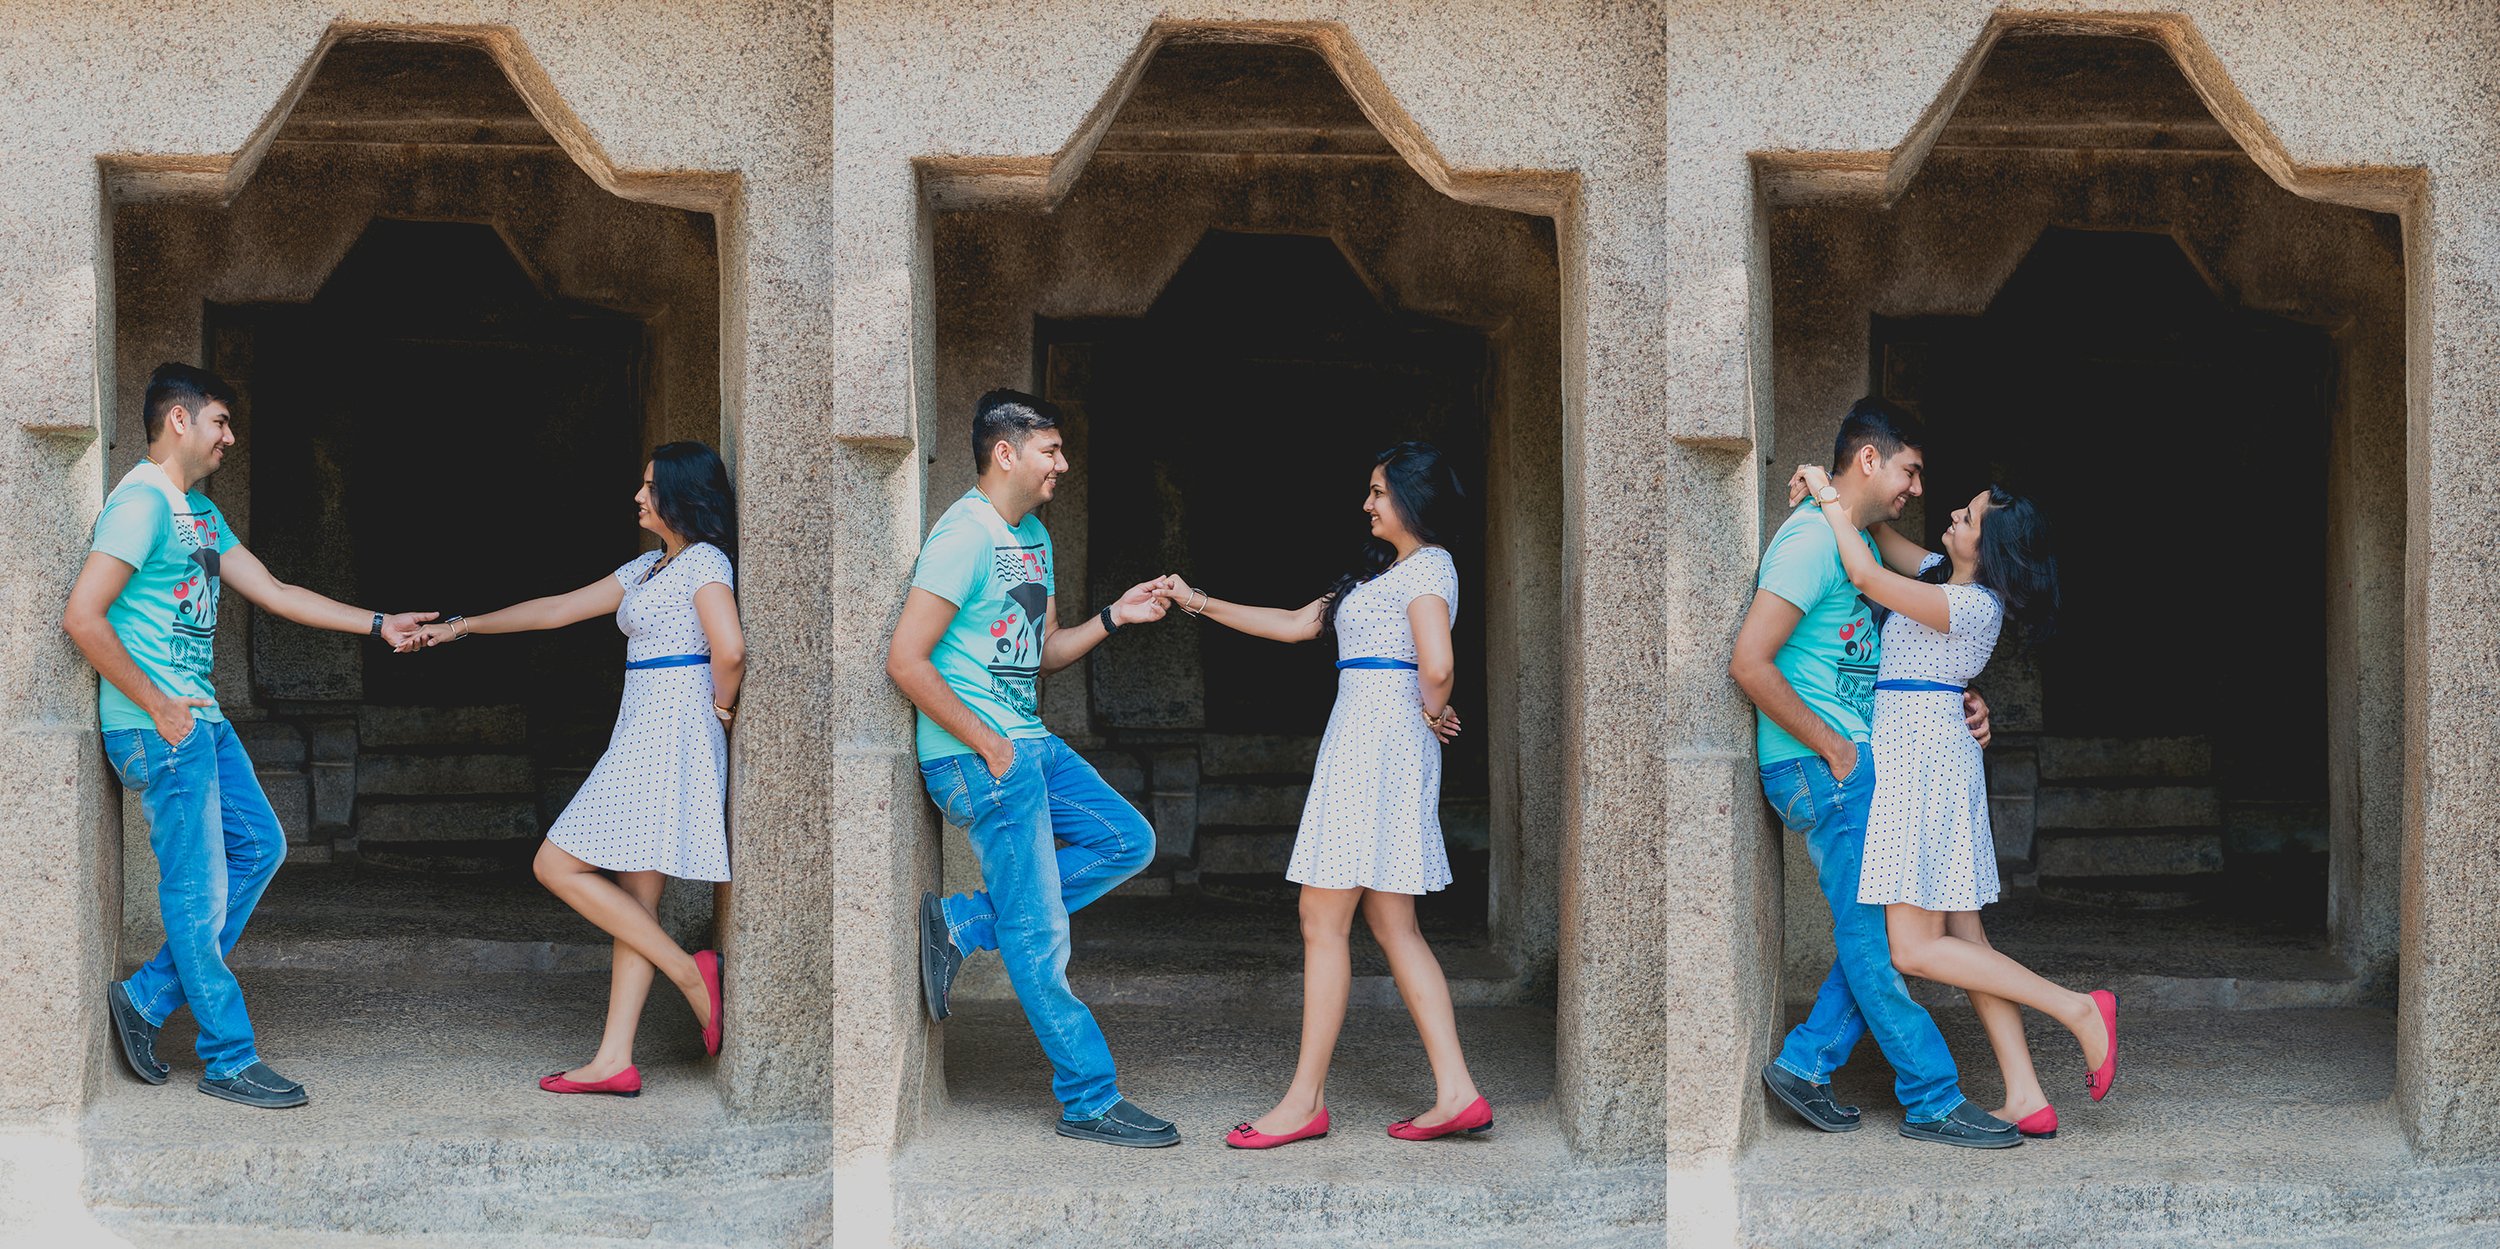
Motion Framing / Film Stripping
Motion capture is a technique where the movement of the objects or people is recorded. Here we had first separated the couple and then asked the bride-to-be to walk towards the groom-to-be where we captured the action with multiple frames per second. Through this technique, we just wanted to capture the amazing chemistry of the couple in LOVE.
Exif: Nikon D800, 55mm, f/4, 1/100 sec, ISO-100
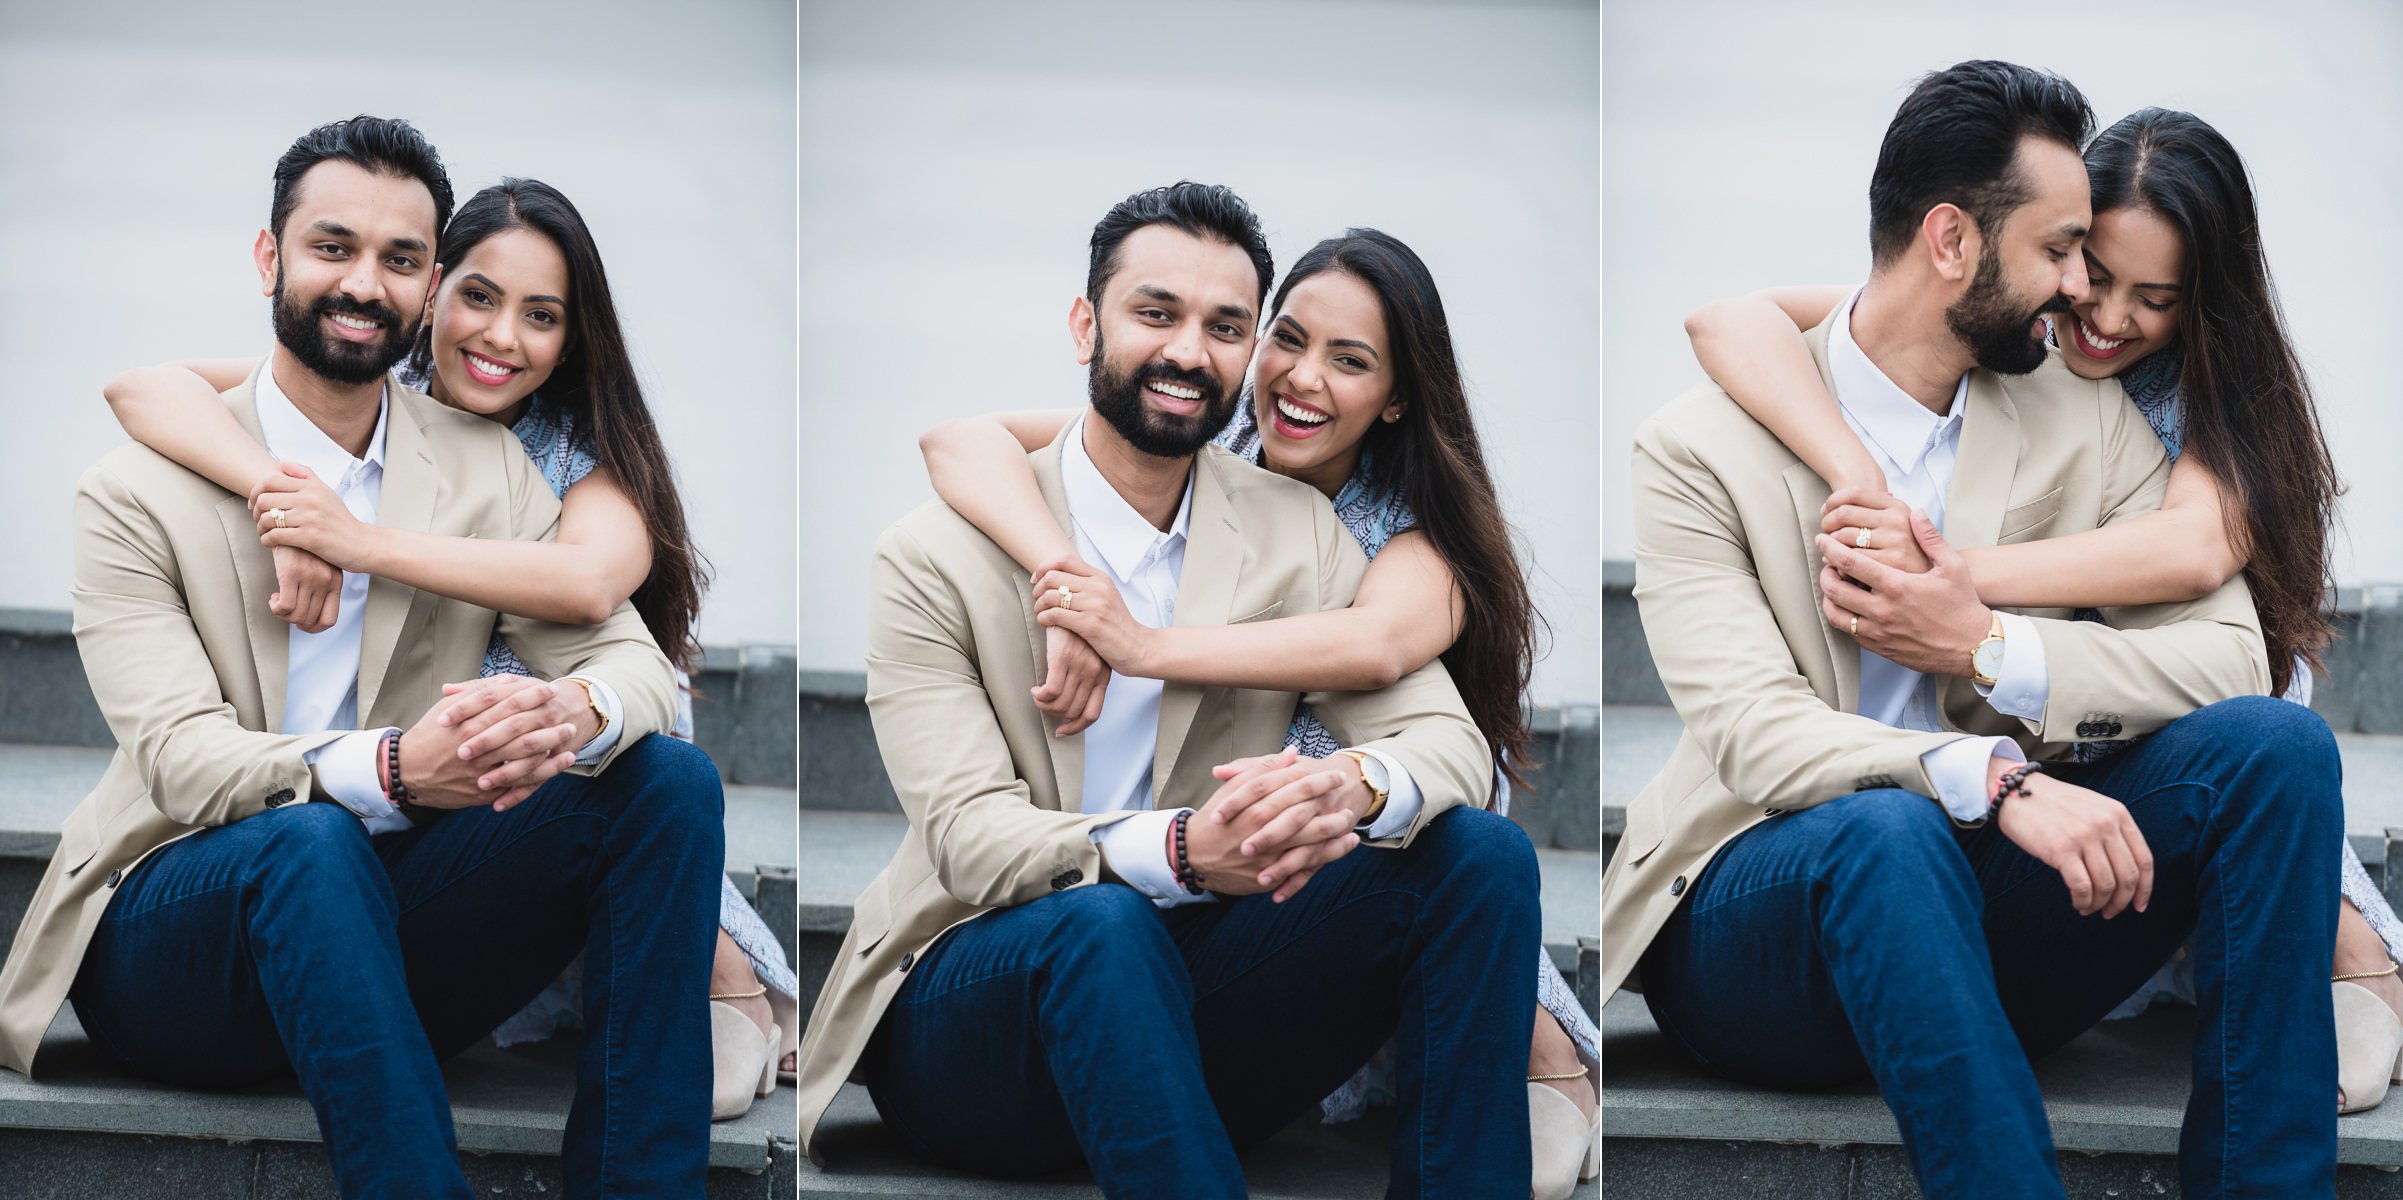
Creating Tension
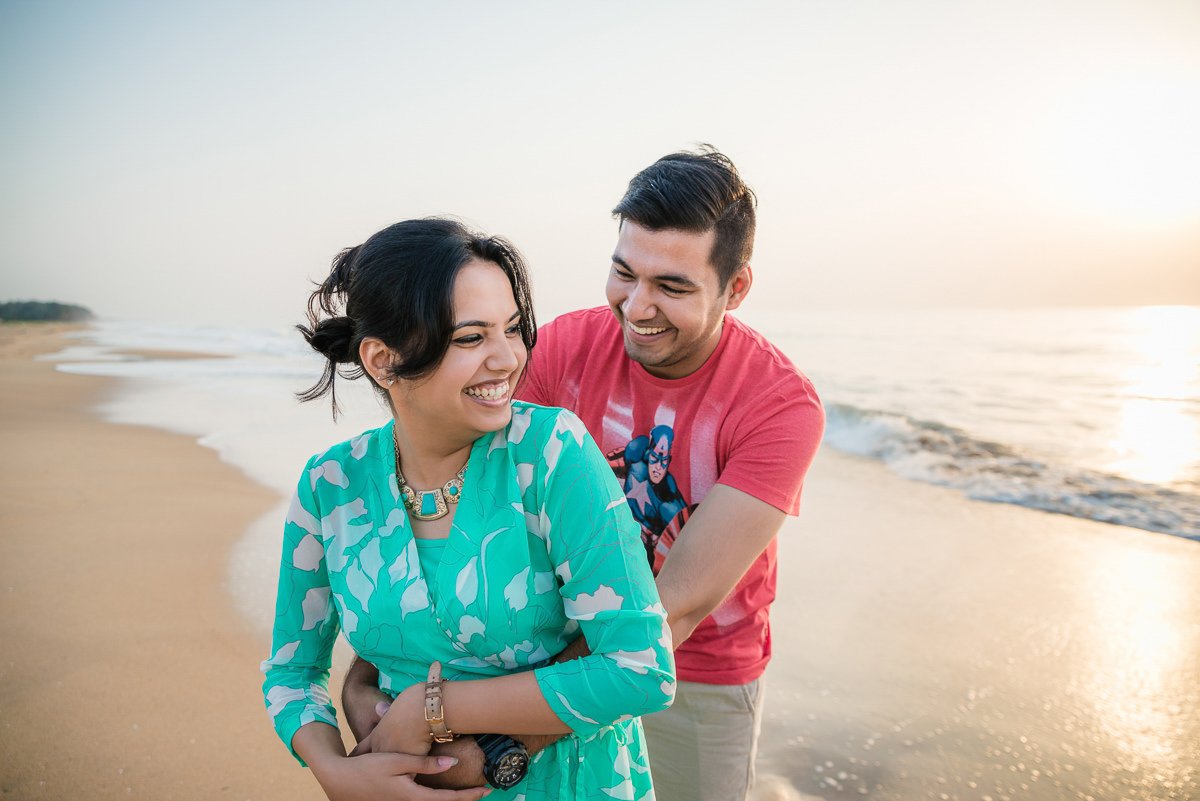
Often we are asked how do we get the expressions right? Well, there are some simple techniques and one of them is what you see here. We decided to play a quick game with the couple. We had asked Rishi to hold Nikita from the waist and pull towards him and in reciprocation, we had told Nikita to not to give in and apply force in the opposite direction. And you can yourself see the amazing results we have got.
Exif: Nikon D800, 24mm, f/4, 1/1600 sec, ISO-800
Silhouette
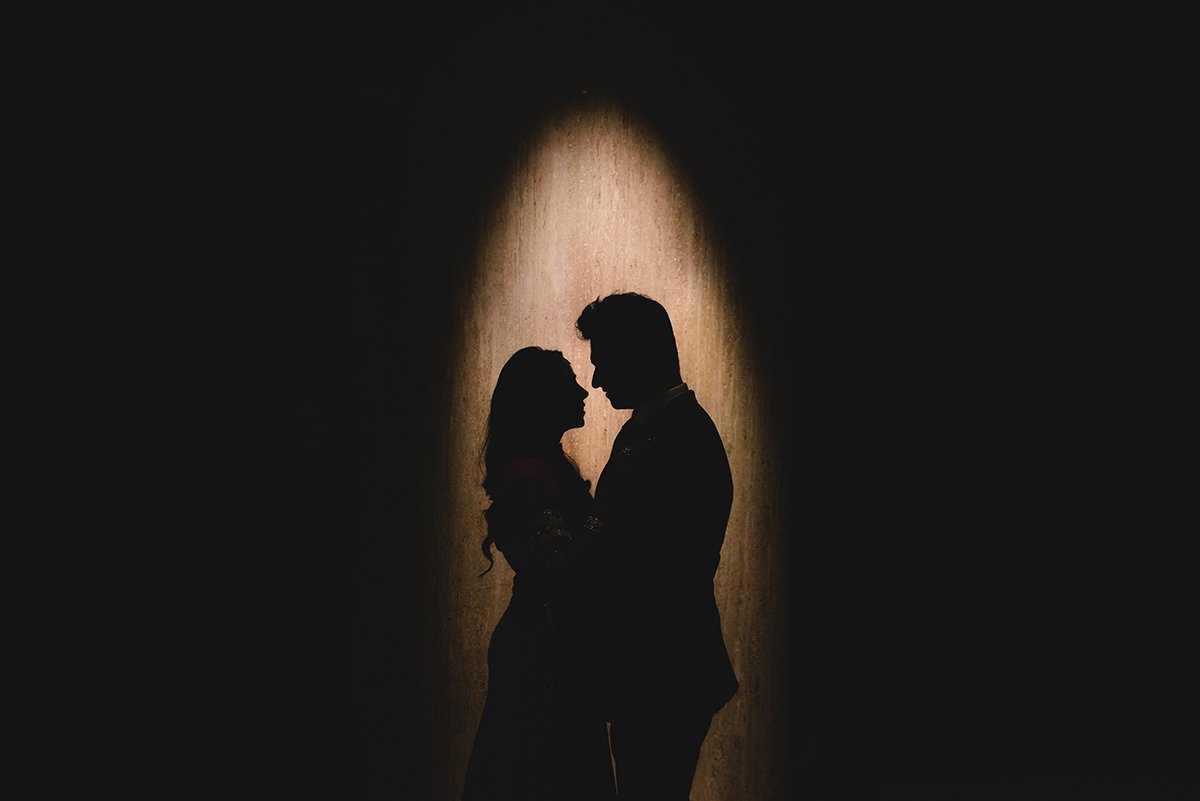
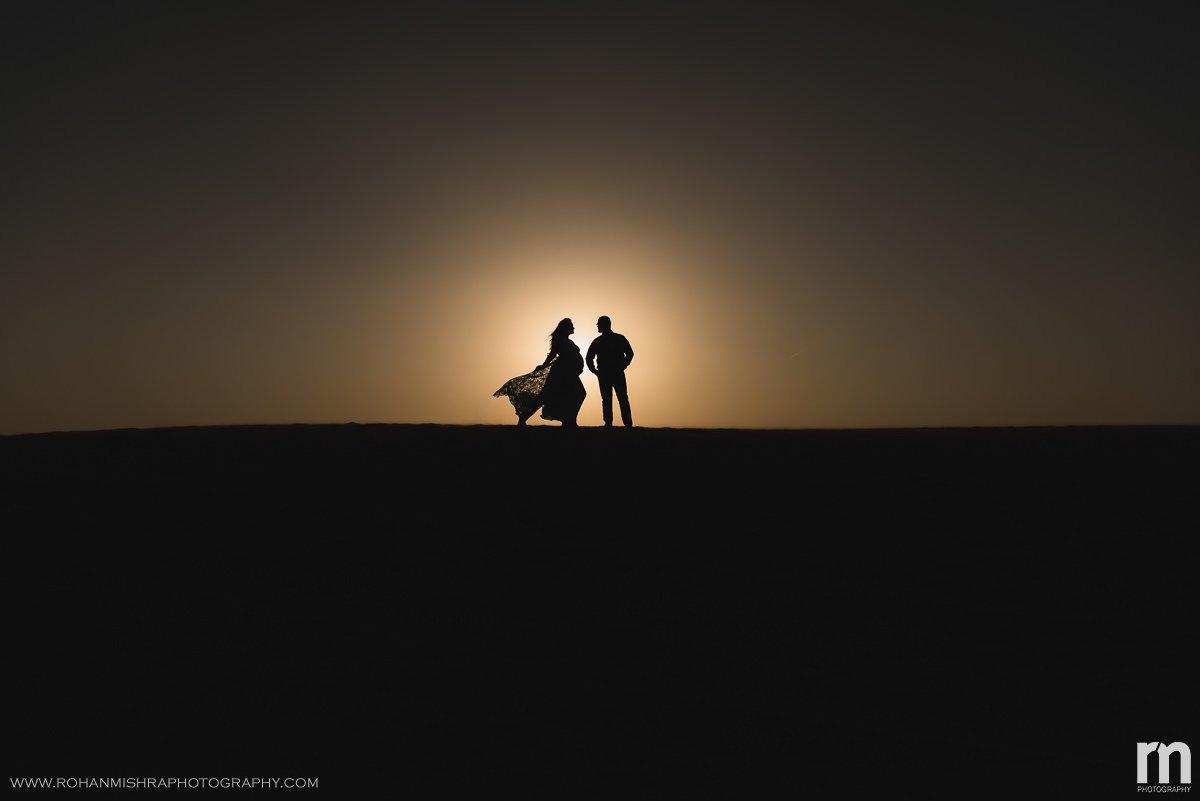
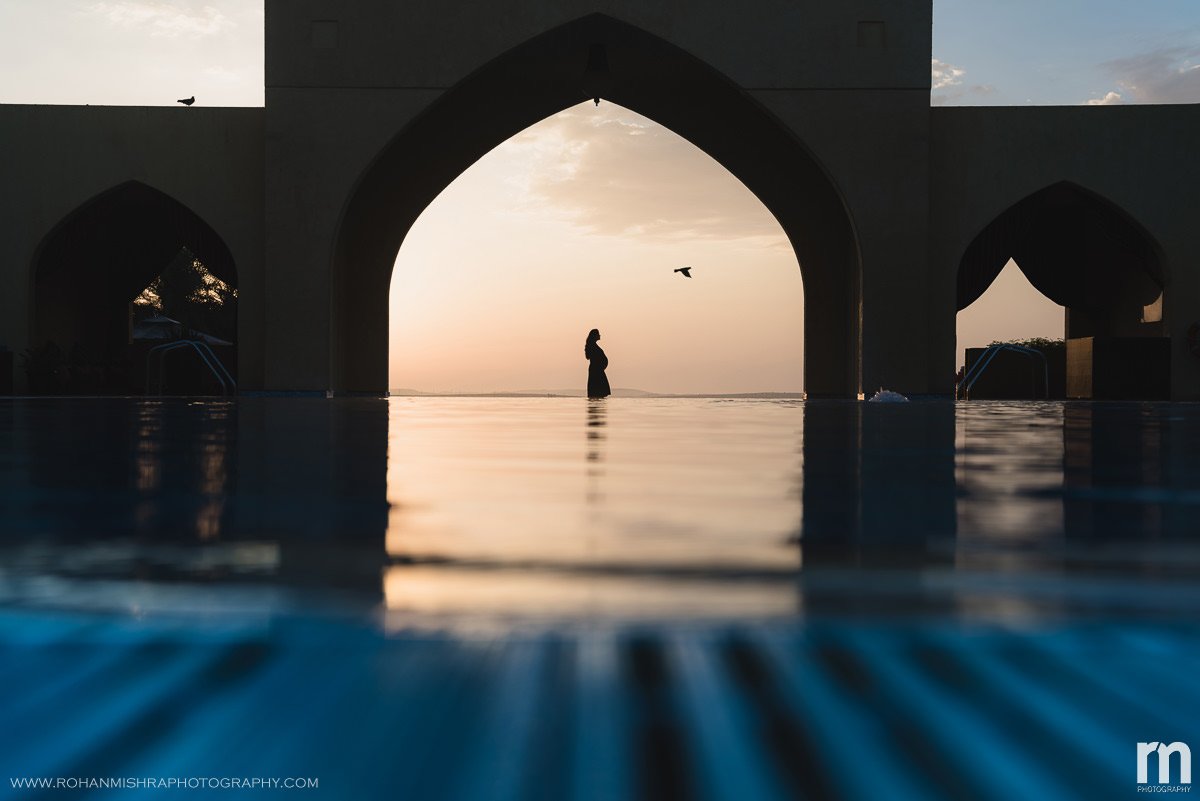
In order to shoot a silhouette, you just need to play with your camera a bit. Let the camera meter off the sky and not the subject. Begin with pointing your camera at the brightest part of your frame – but not directly into the sun – and press the shutter halfway down. Then, while you’re holding the shutter half way down, recompose your image and take the photo.
In order to avail the clearest silhouette photo, you should ideally shoot in manual, so you can choose the aperture, shutter speed, and ISO as per your requirement and not let the camera do so.
Another alternative measure is to use the exposure compensation feature on your camera when in Aperture priority mode to achieve the desired result. Reason being, exposure compensation gives you the ability to instruct your camera to allow more light in or less light in. Usually, to shoot silhouettes you’ll have to shuffle your setting between -1 to -3 EV (exposure value), but be careful as you might have to experiment with the value to see what works best for the situation.
USE DISTORTION
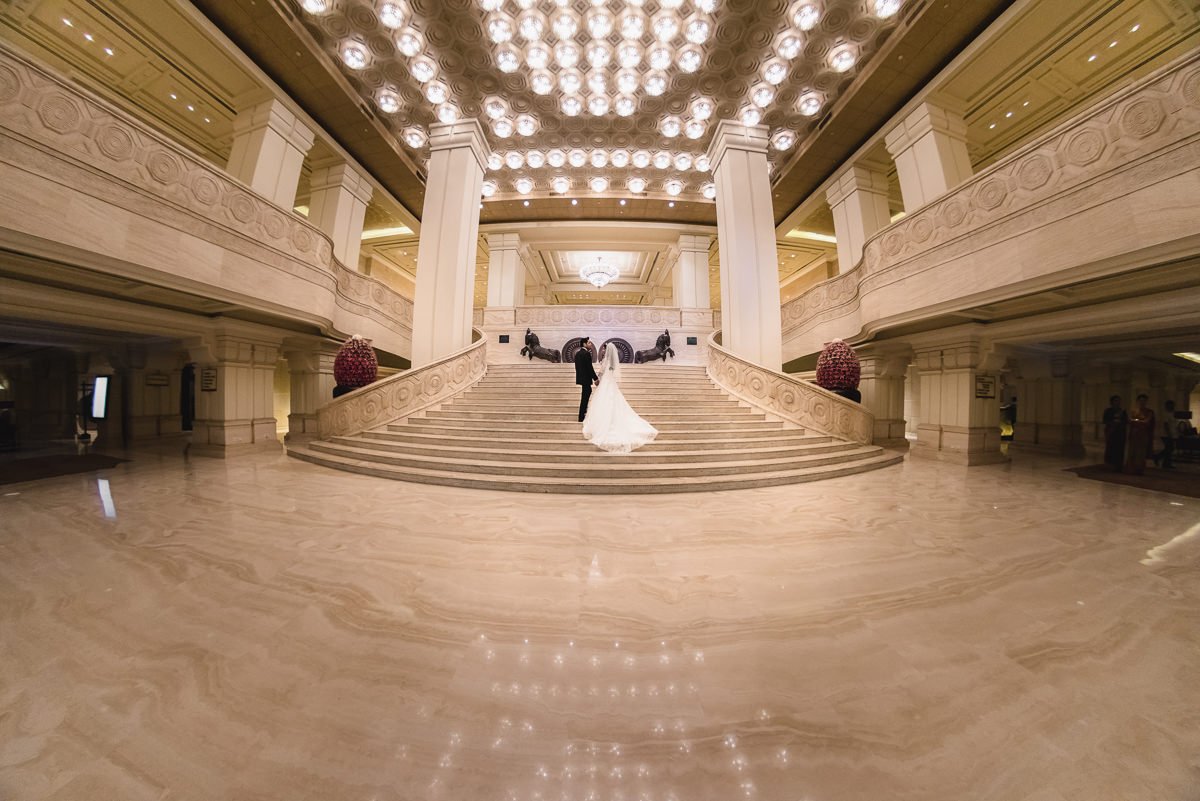
Using a distortion in your favor is also an Art. Sometimes distortion can add to the photo so much, so try moving the lens about and see how it affects the lines along the edges or distorts objects in the foreground.
Exif: NIKON D810, F-stop: f/5.6, Exposure time: 1/200 sec, ISO: 800, Focal Length: 24 mm
FRAME THE SHOT
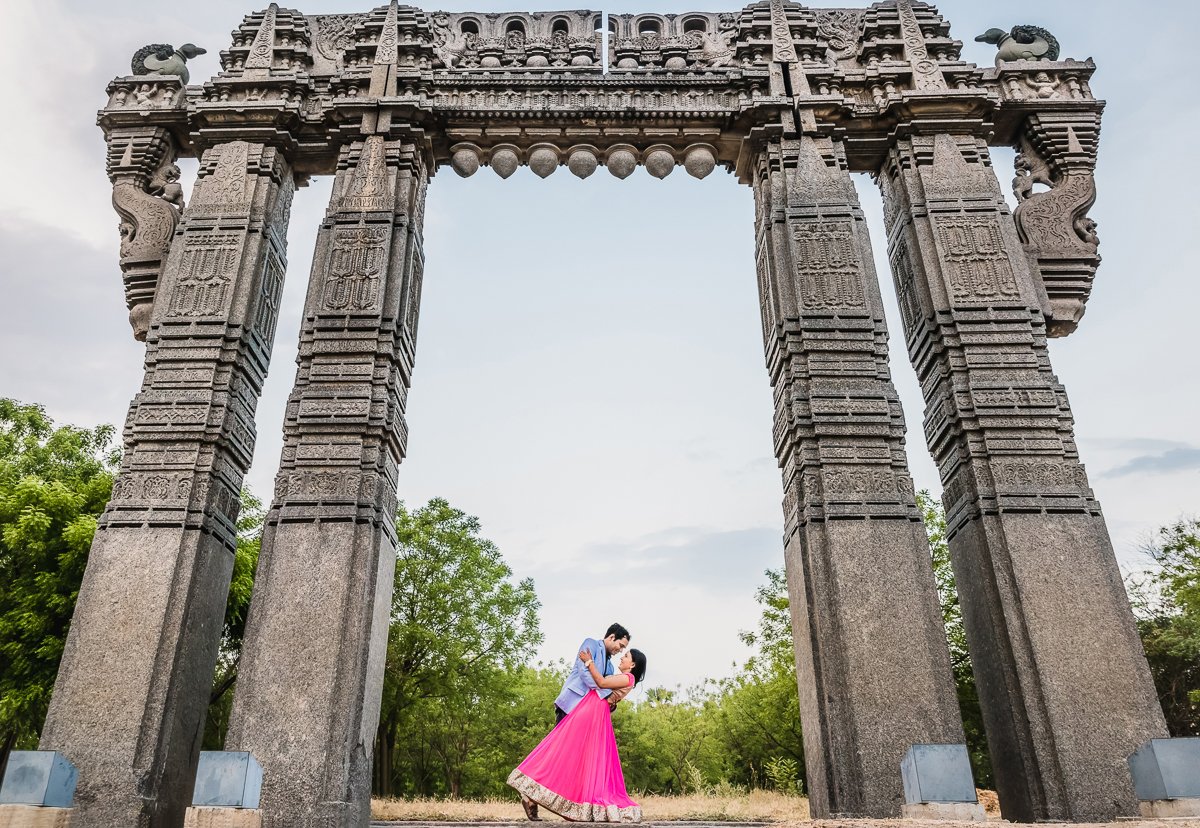
The world of wide angle lens can be sensed only when you see it through the viewfinder. If used effectively this lens can be considered as the most creative lens available in the market. For instance, In the shot below the height of the pillar was slightly above 5 feet but to get this perspective I decided to sit down and shoot. I made sure the couple is placed in the center so that the distortion is restricted only to the pillars giving us an illusion of it being a bigger in height. Hence framing a shot correctly is equally important when shooting with wide angle lens.
Exif: NIKON D810, F-stop: f/4, Exposure time: 1/400 sec, ISO: 3200, Focal Length: 24 mm
Multiple Exposure
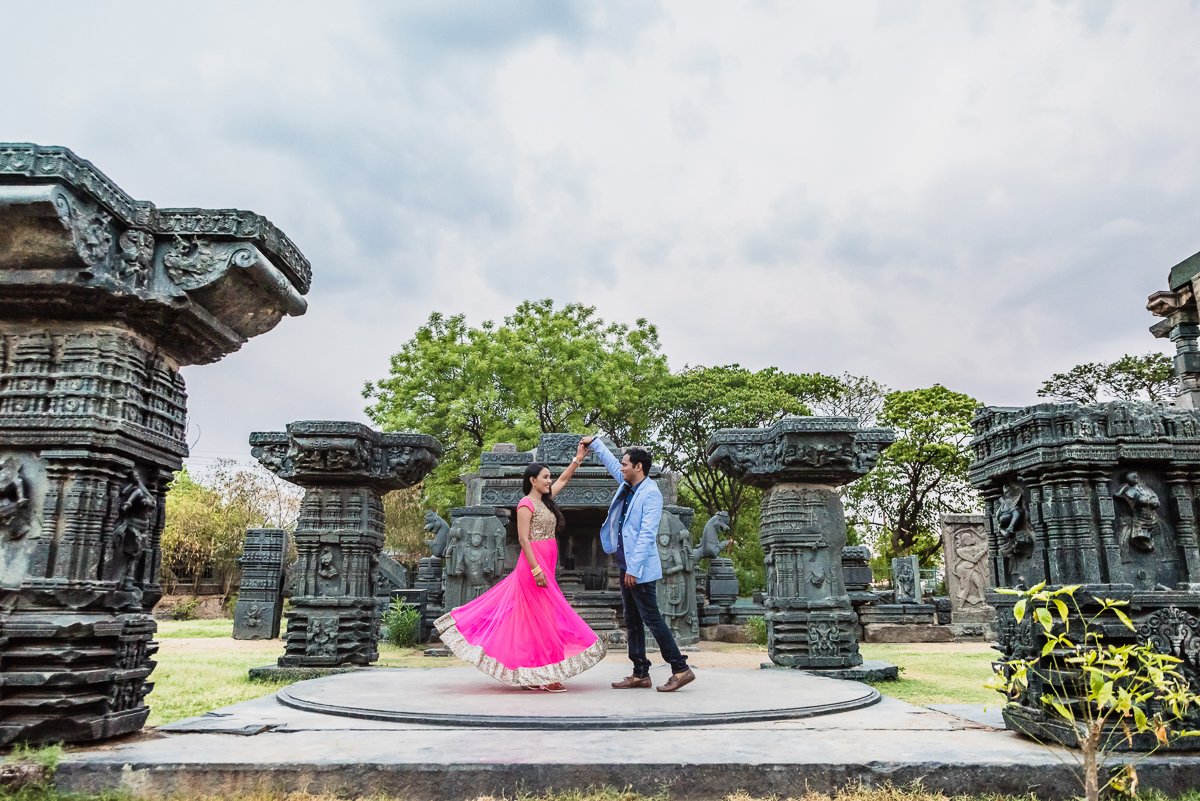
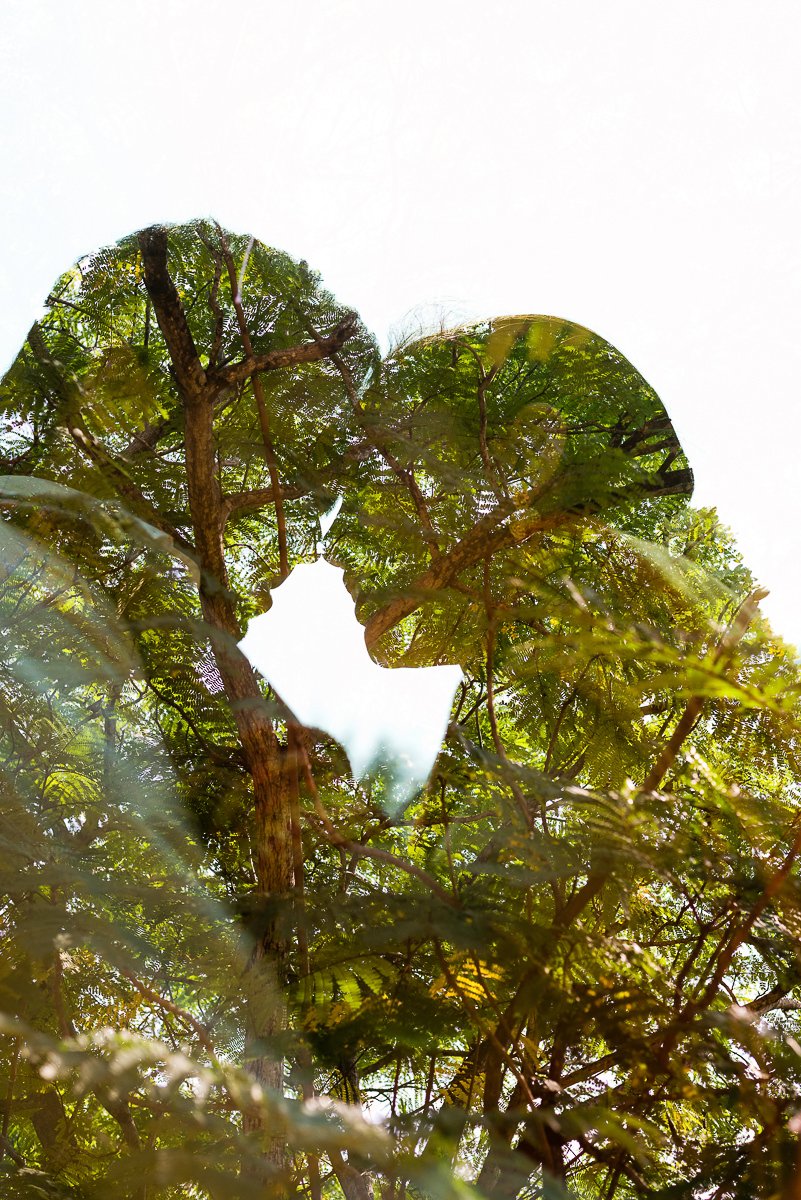
One of the most experimental technique is the in-camera double exposure. You can do wonders with this technique as it gives a free hand to the photographers to create some unique and inspiring shots. The method of overlaying images on top of each other, you could shape an image of nature into the silhouette of a person (like this one), stitch different urban scenes into one image, and even produce avant-garde and dreamlike photographs.
This is why nowadays more digital cameras offer a multiple exposure mode, allowing shooters (like yourself) to create double exposures without relying on Photoshop.
Exif: NIKON D800, F-stop: f/4, Exposure time: 1/8000 sec, ISO: 800, Exposure bias: 0 step, Focal Length: 50 mm
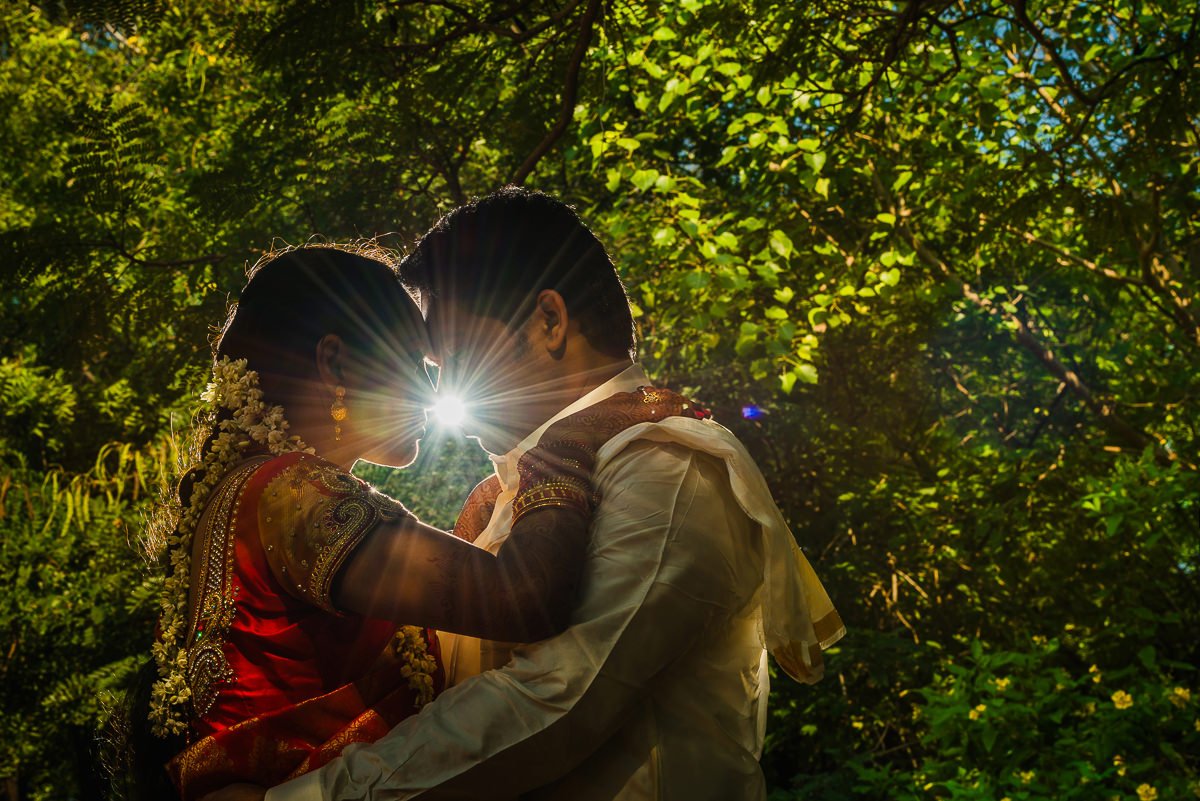
0ff camera flash!
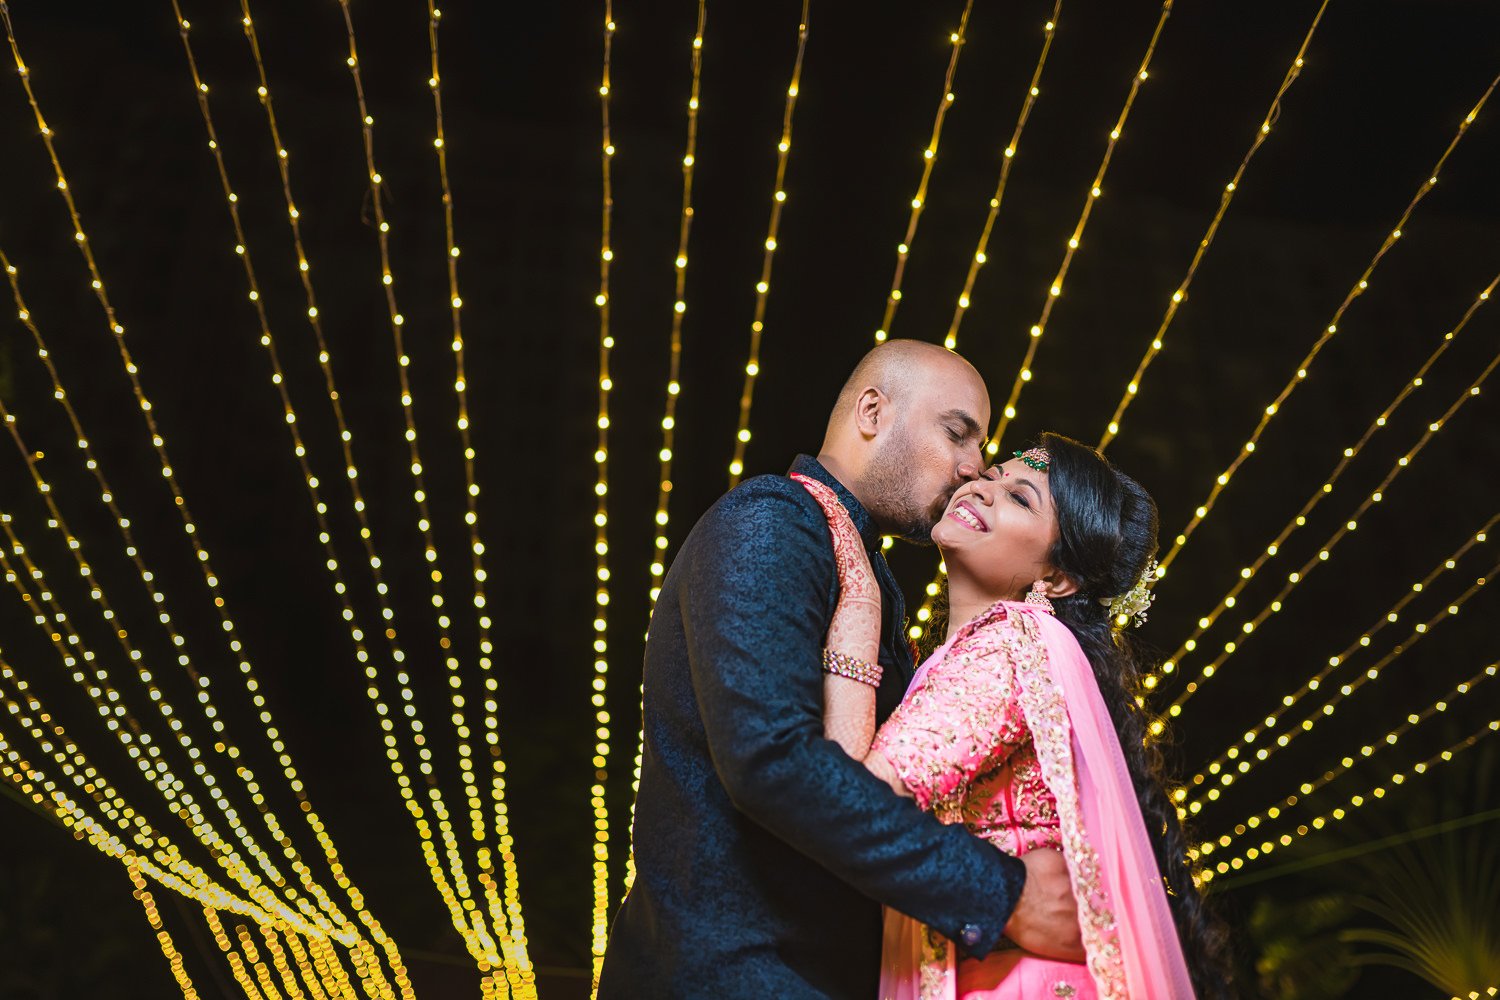
Usage of Off camera flash is a photographer’s treat. To build levels of dimension by using a backlight to separate the subject from the background. By allowing a little gap between the couple’s face, it will give the right amount of flare to pop up which will add the required drama.
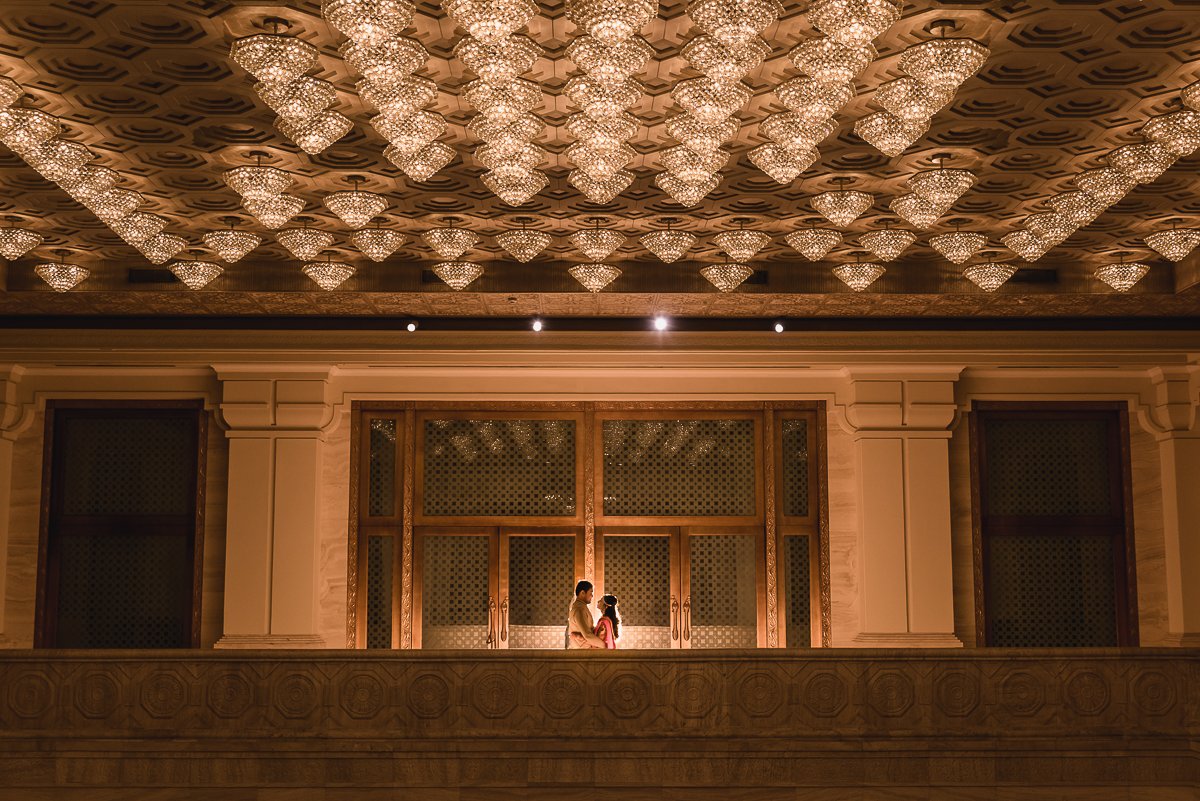
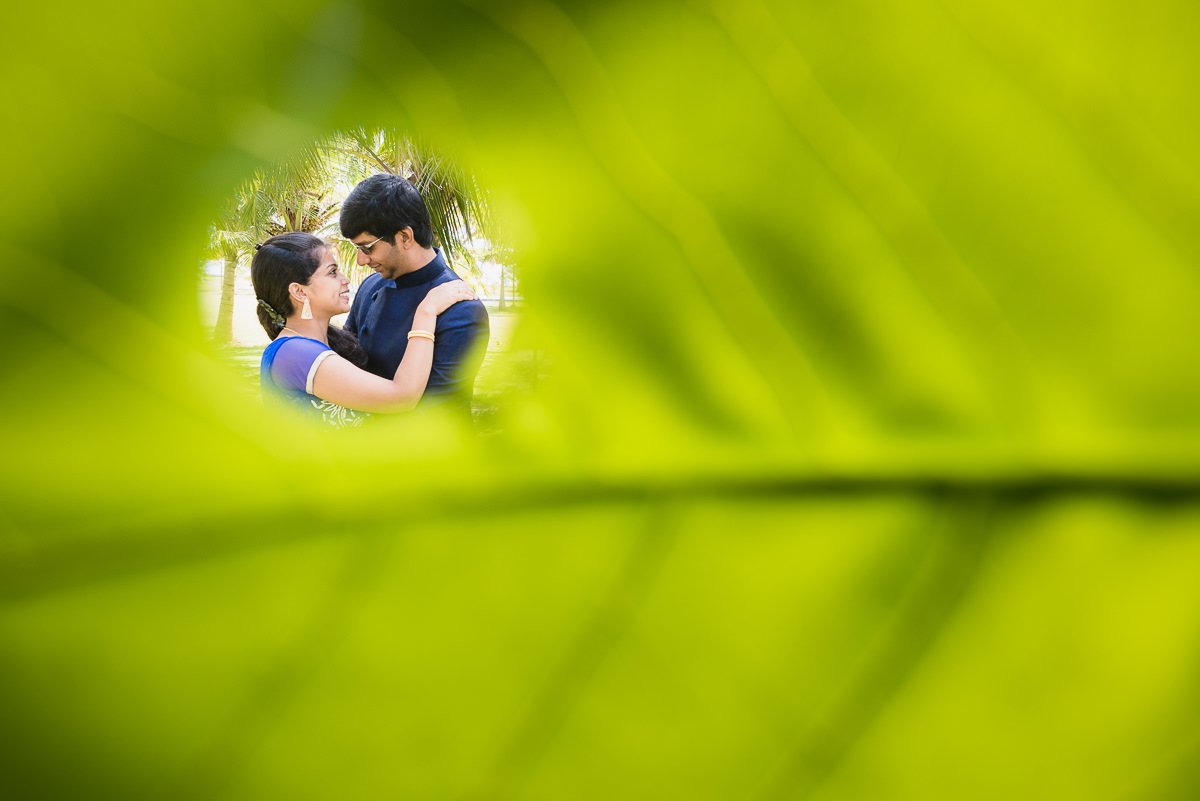
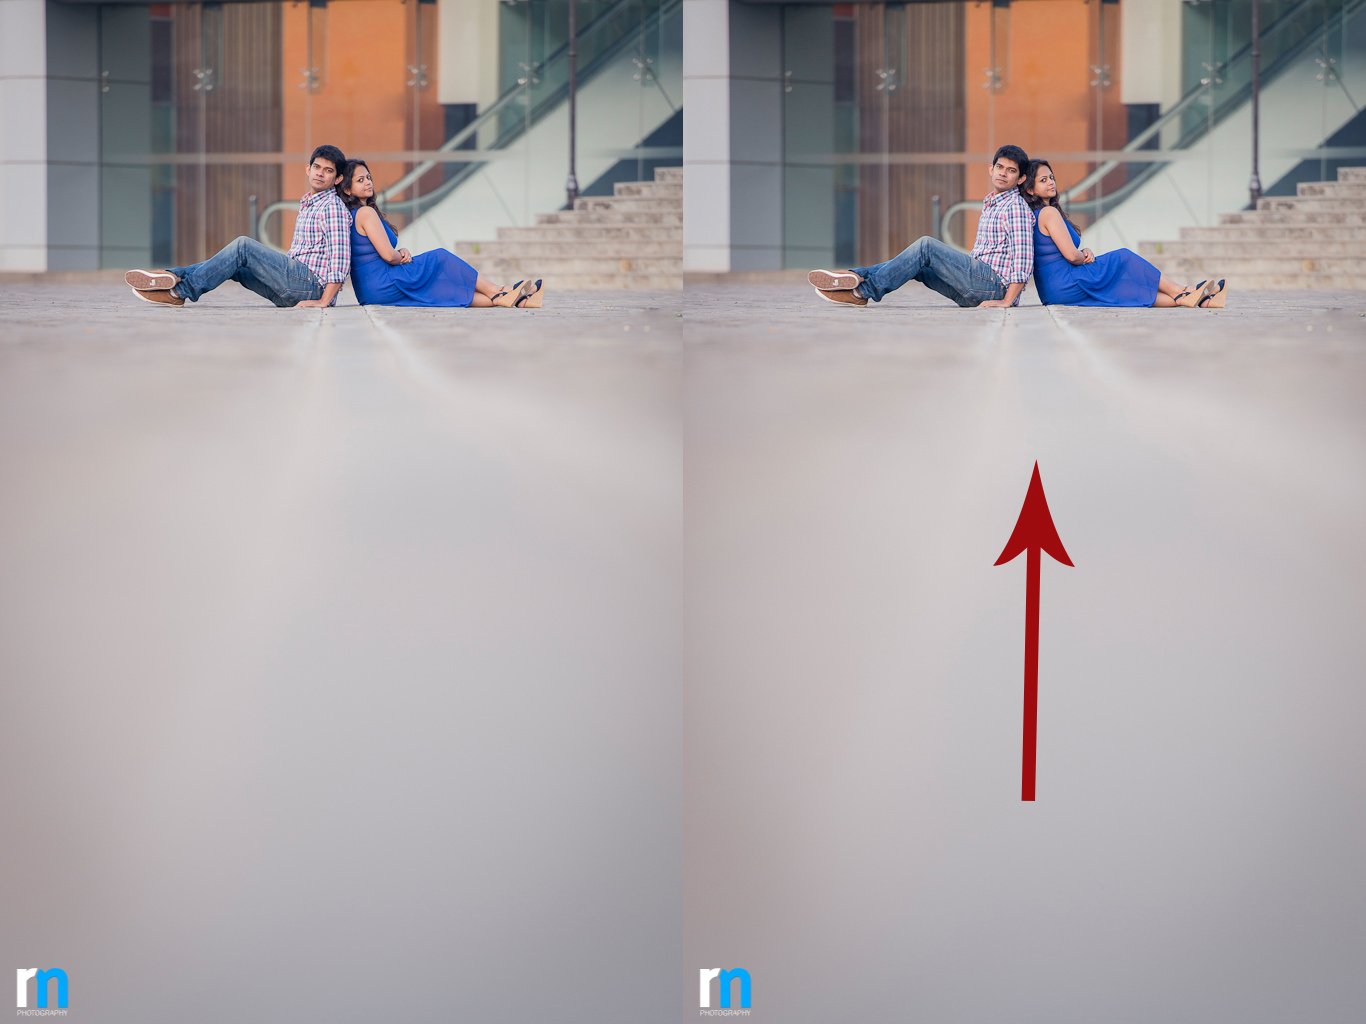
An Interesting foreground
Use an interesting foreground to create a different perspective.
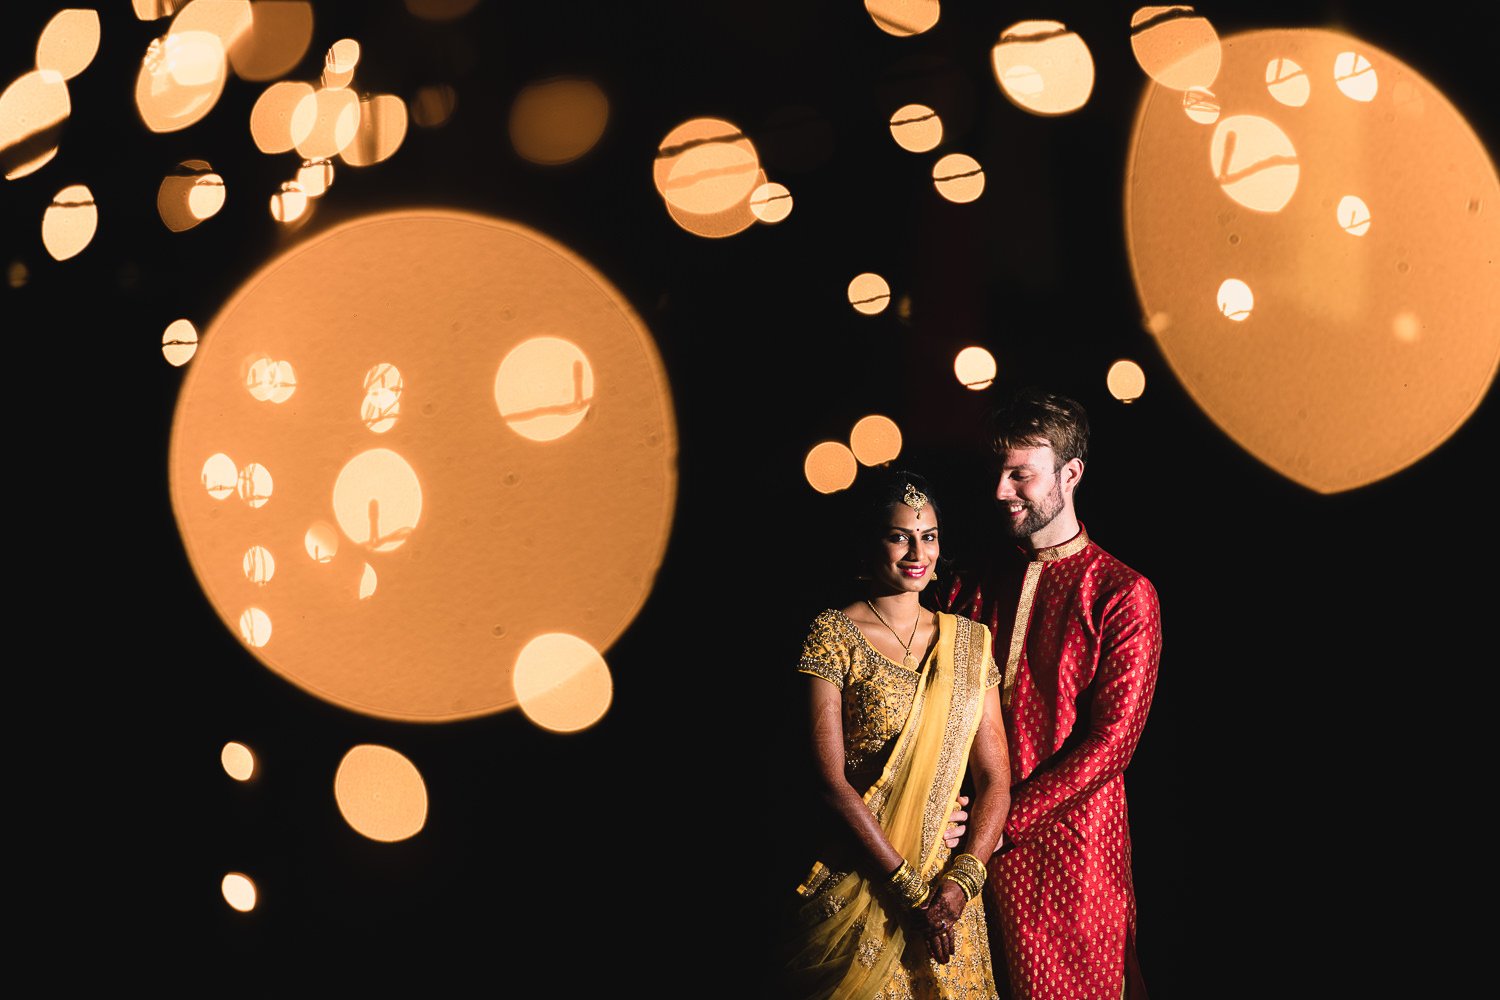
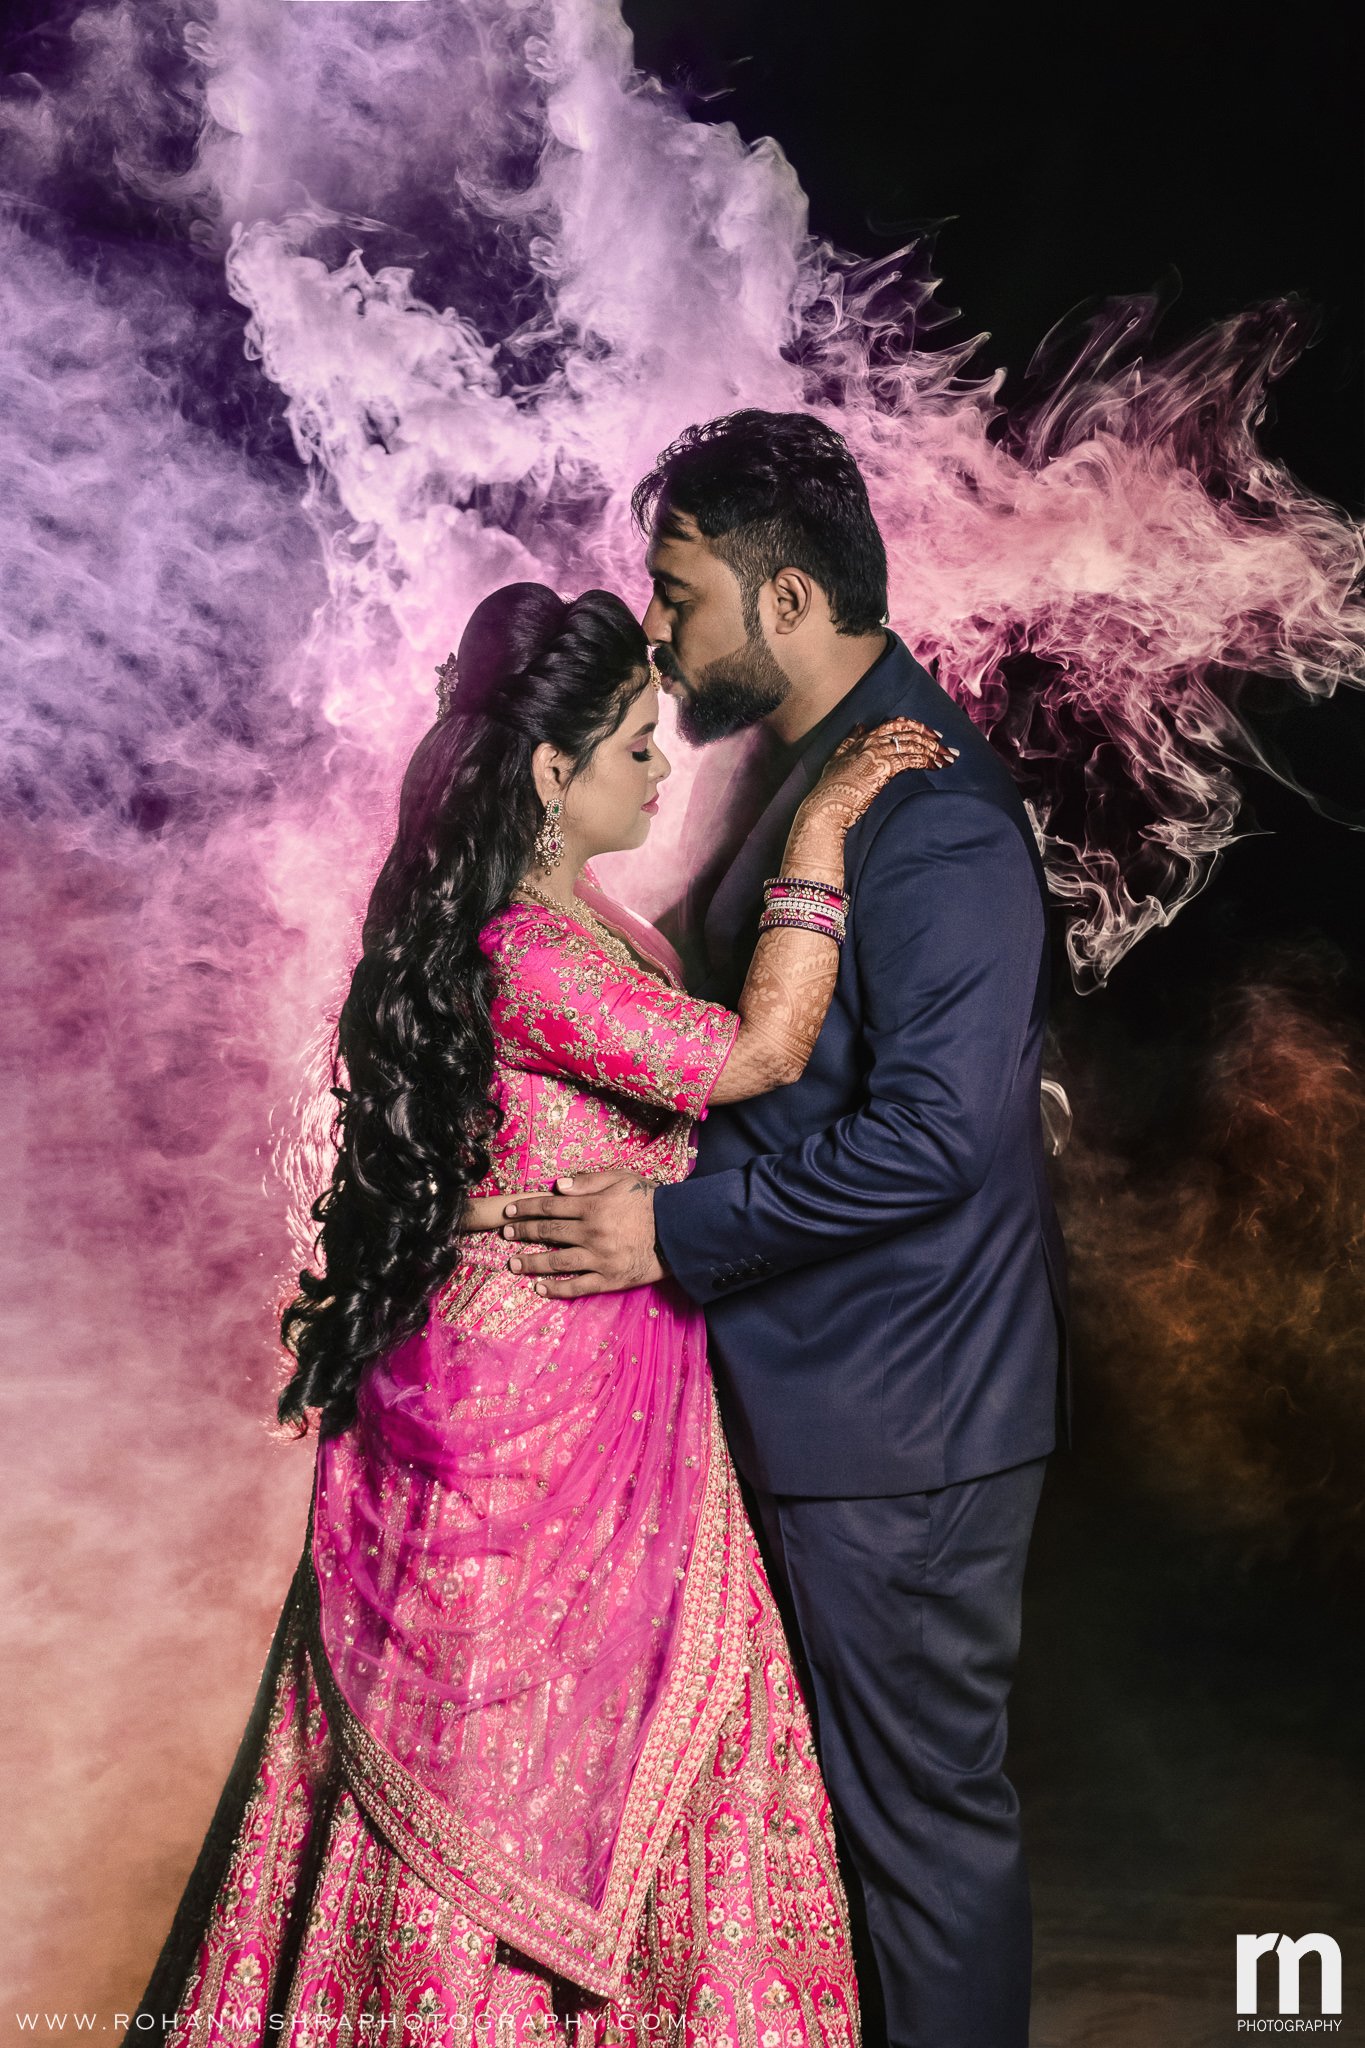
Dramatic Lighting
To create a drama we have underexposed the background and have lit the couple with the help of an off-camera flash.
Take advantage of the sky!
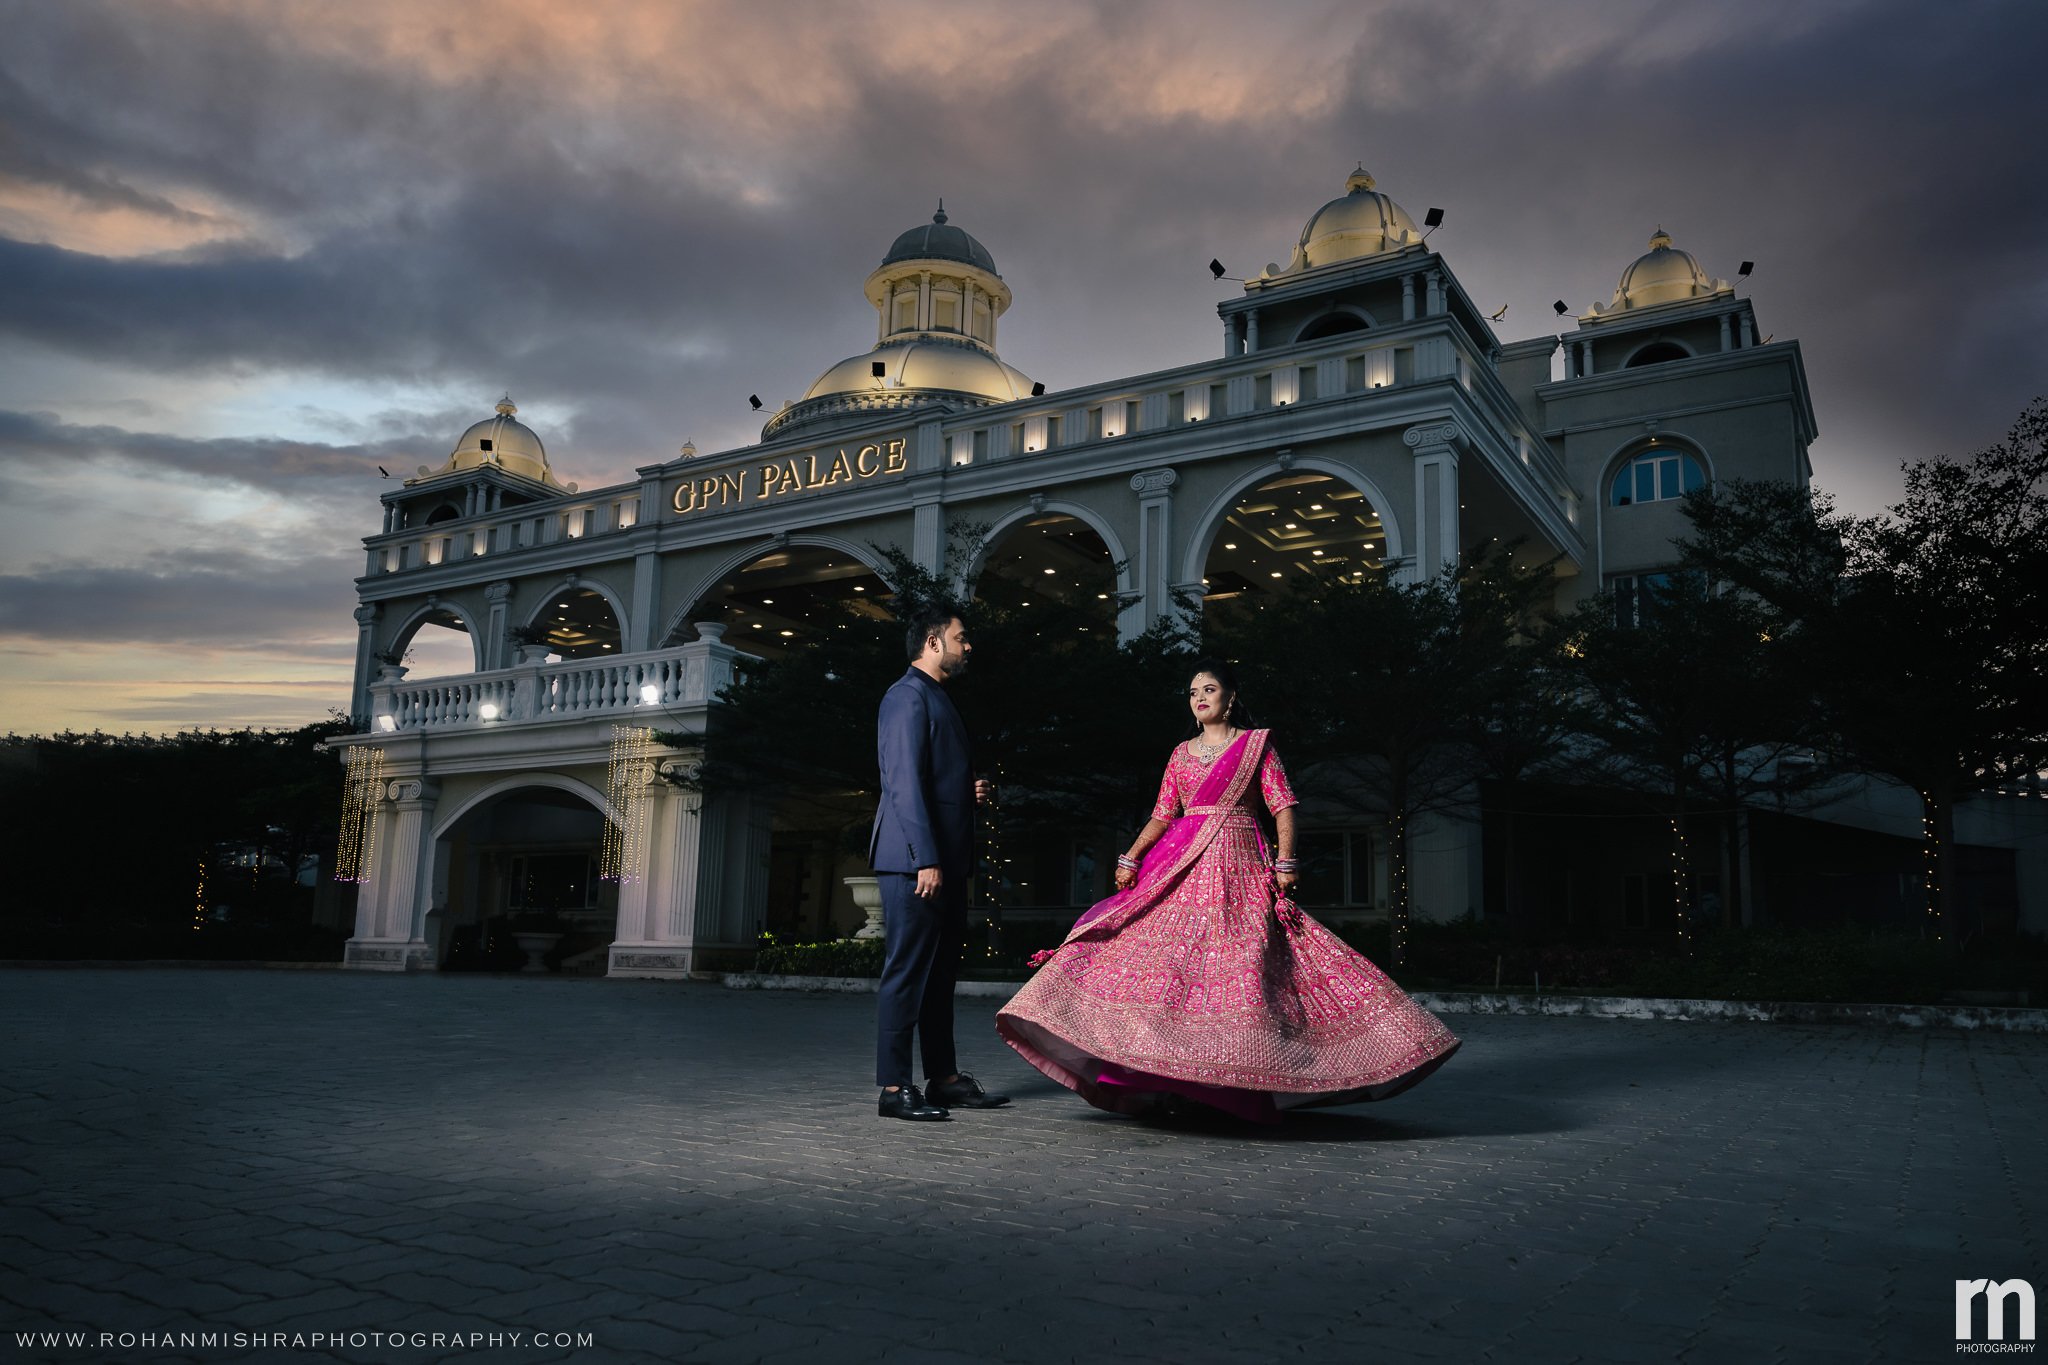
Similar to using an interesting foreground, if you have a beautiful sky, you can also use the wide-angle to take advantage of it. Fill 1/3 to ½ of your frame or full frame with the sky and the wide-angle will accentuate it because of the added sense of depth that these lenses create.
Here is a "Save The Date" concept we absolutely loved conceptualizing & shooting. How we did it?
Set your camera to Manual--> Set it to underexpose the scene in order to capture those dramatic clouds-->add off camera flash to your taste-->Click
P.S. The date text was added later in post using Photoshop.
Exif: NIKON D810, F-stop: f/16, Exposure time: 1/160 sec, ISO: 64, Focal Length: 24mm

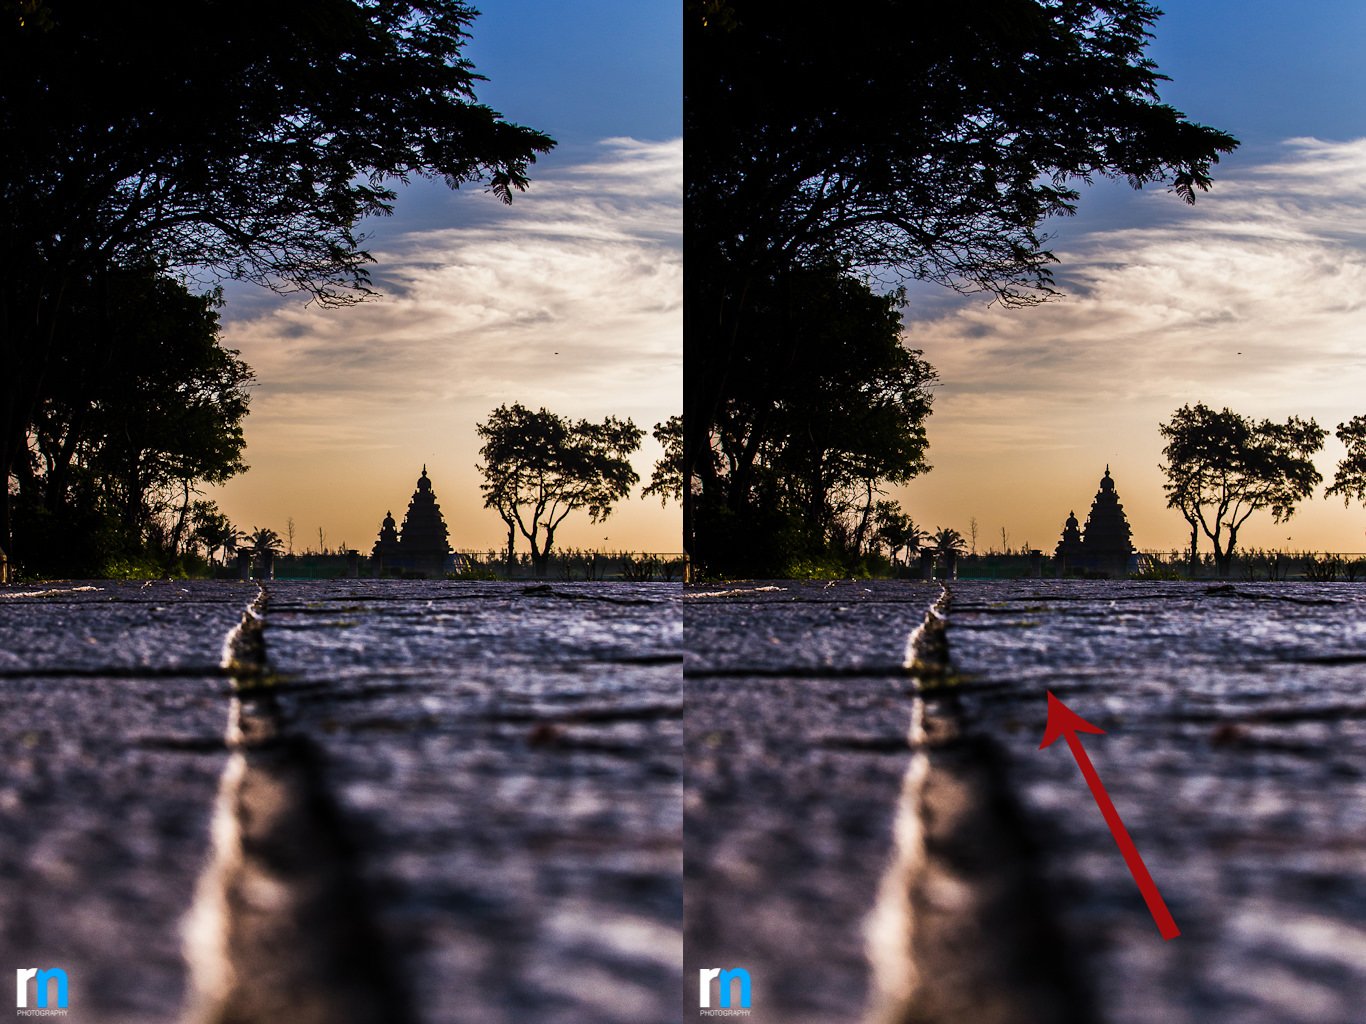
Use Leading Lines
Leading lines is a technique used by the photographers to draw the attention of the viewer to its main subject. Before taking a shot look for the strongest lines you can see and then arrange all the other elements accordingly in your frame. Usage of fences, bridges, roads, buildings etc can actually help you in accentuating the angles.

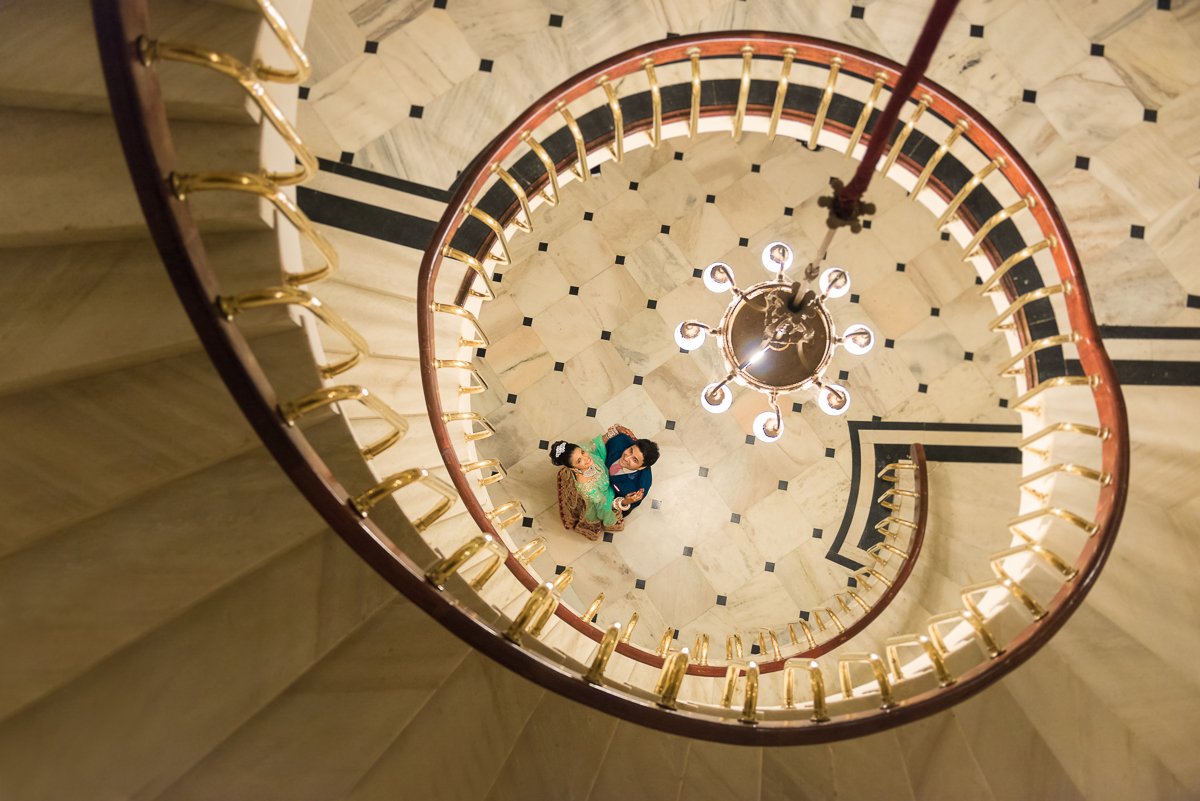
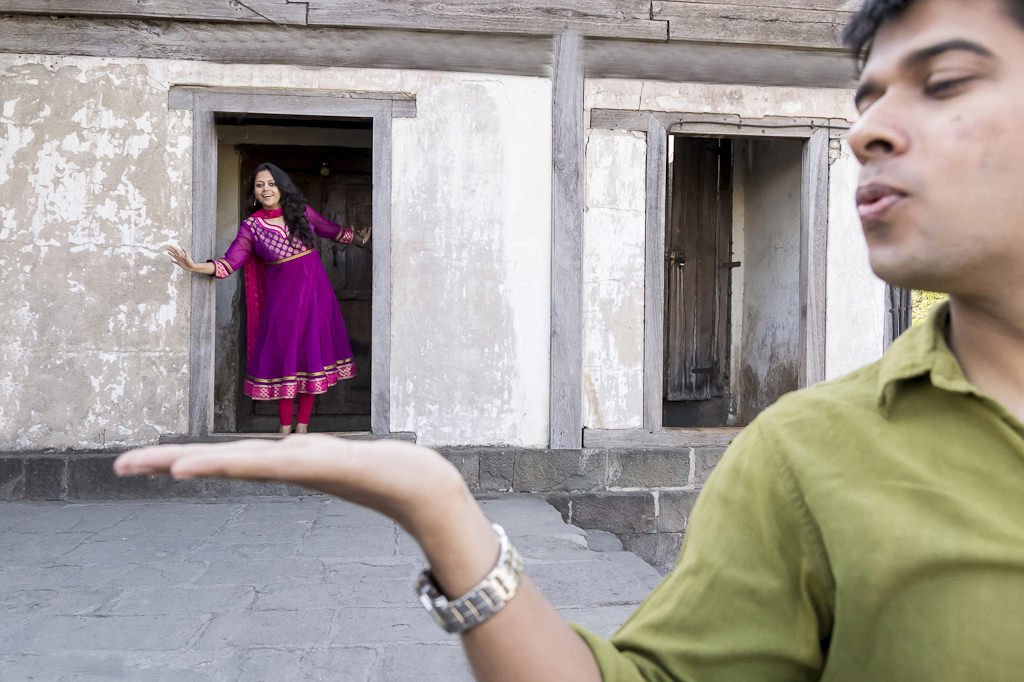
Forced perspective
With the help of optical illusion, we can make an object appear farther away, closer, larger or smaller than it actually is. This technique is known as forced perspective and it is used primarily in photography, filmmaking, and architecture.
Exif: NIKON D3100, F-stop: f/5.6, Exposure time: 1/500 sec, ISO: 1600, Exposure bias: 0 step, Focal Length: 17 mm
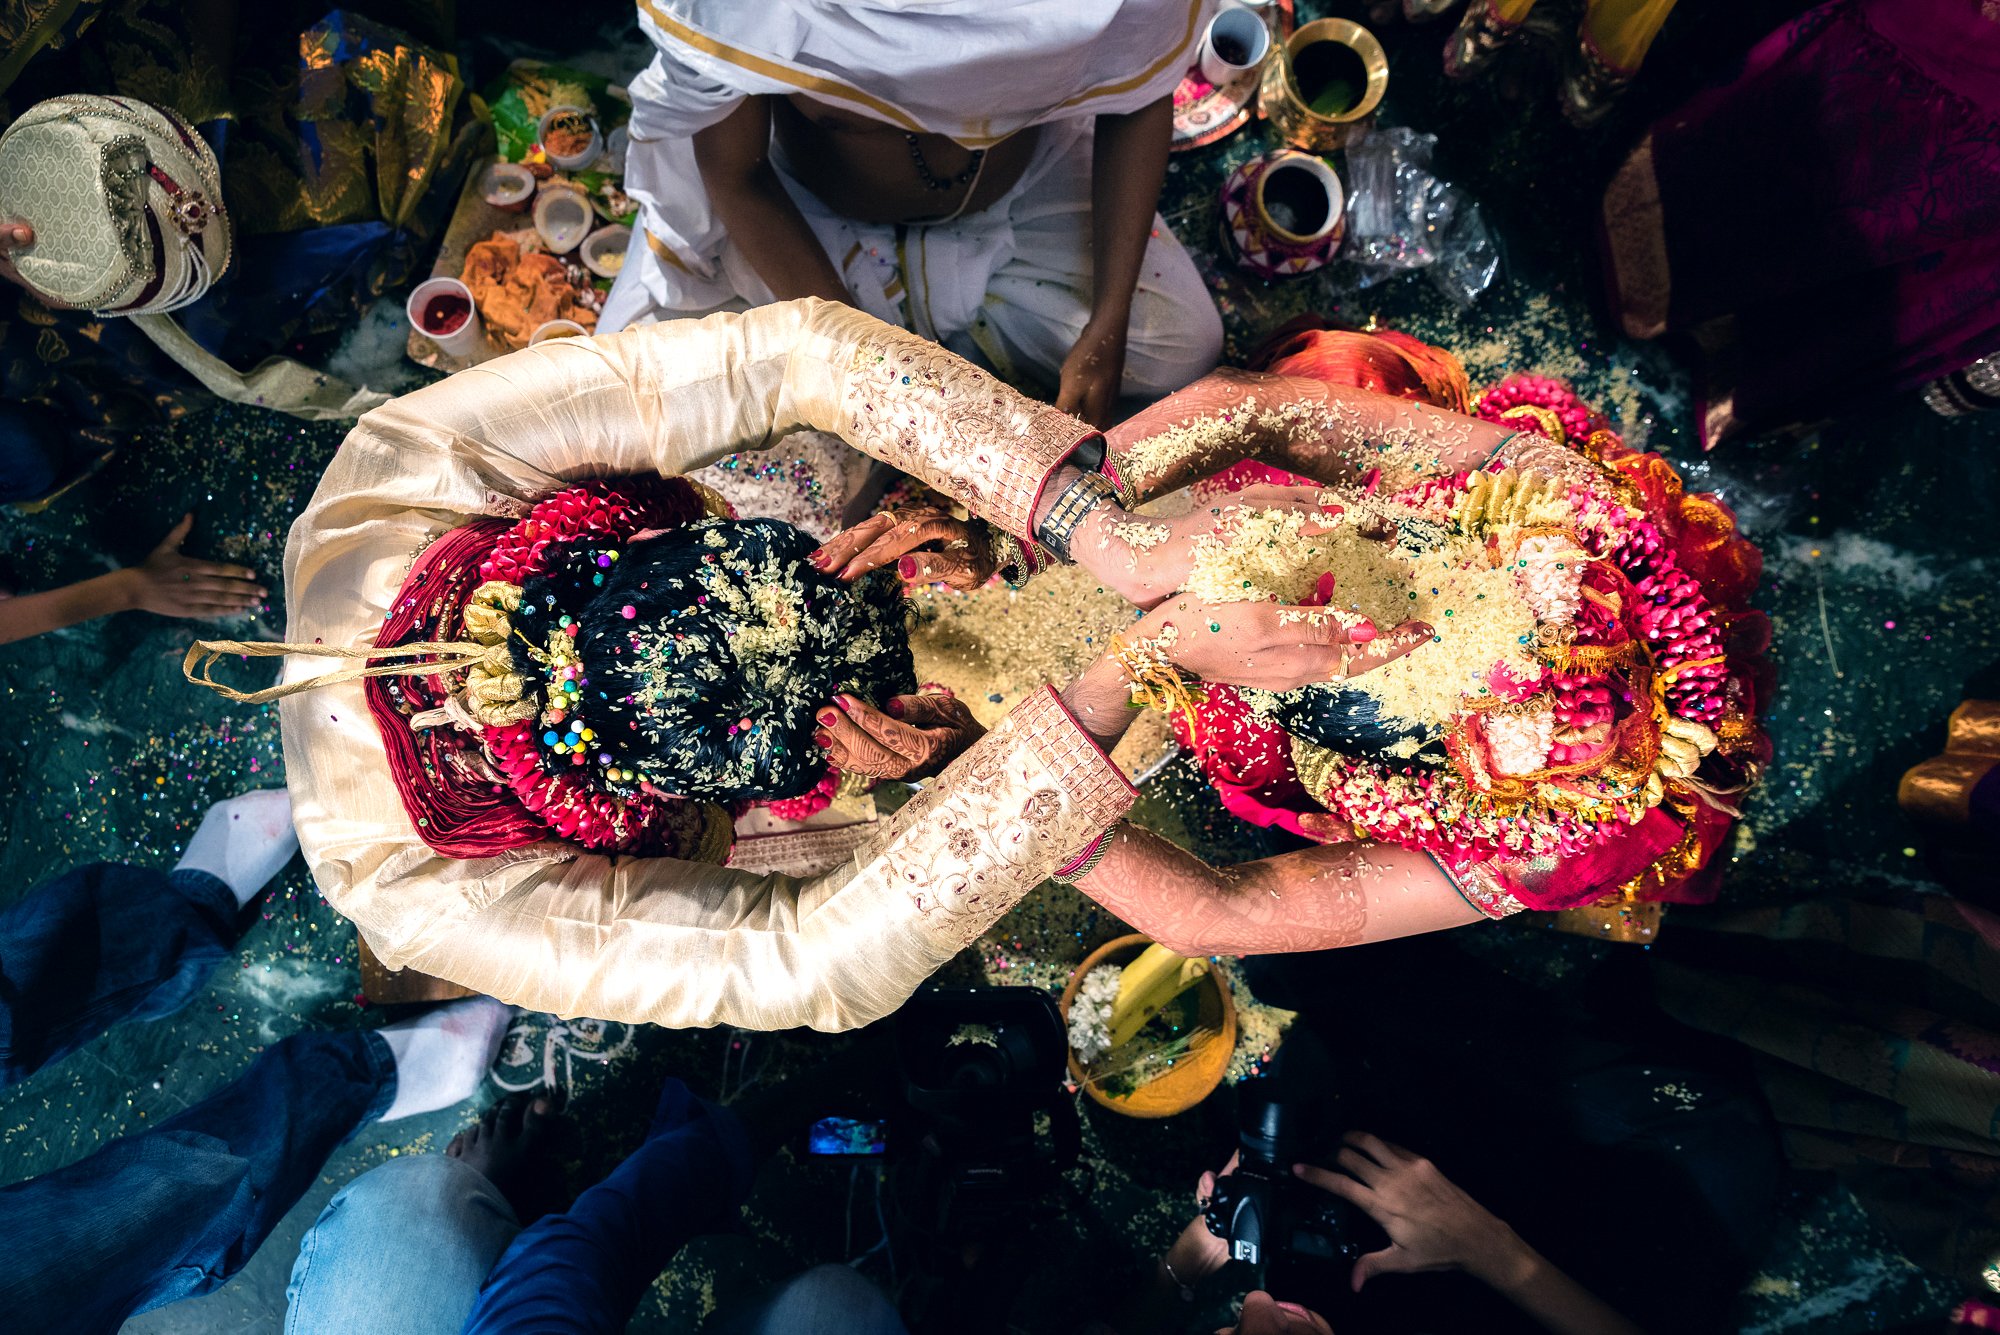
Try different angles!
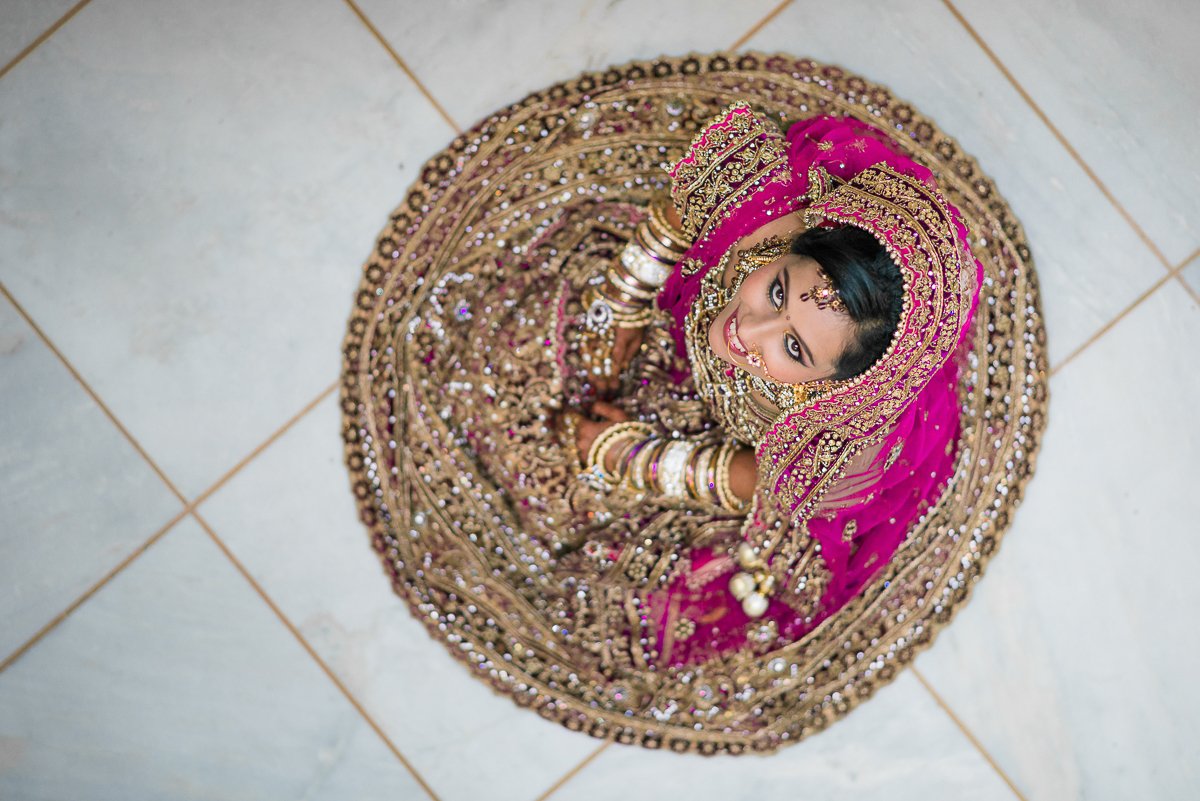
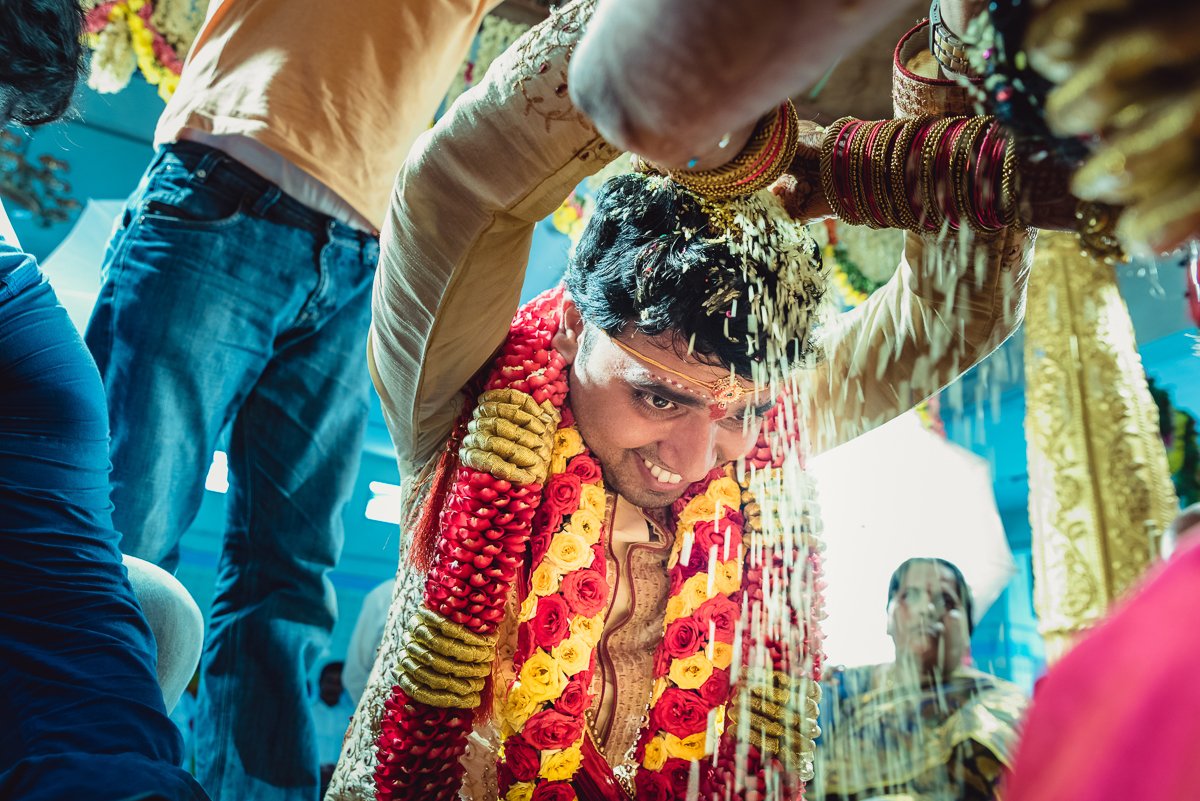
Wedding ceremonies are chaotic but if you're trying to take photos at a busy event where there's a big crowd, you'll be able to shoot above them. It will help you avoid getting extra people's heads in shots and give you a great opportunity to get a general overview of the scene. Shooting from the top might offer a slightly alternative angle to the subject that is shot straight-on most of the time.
Bokeh Panorama
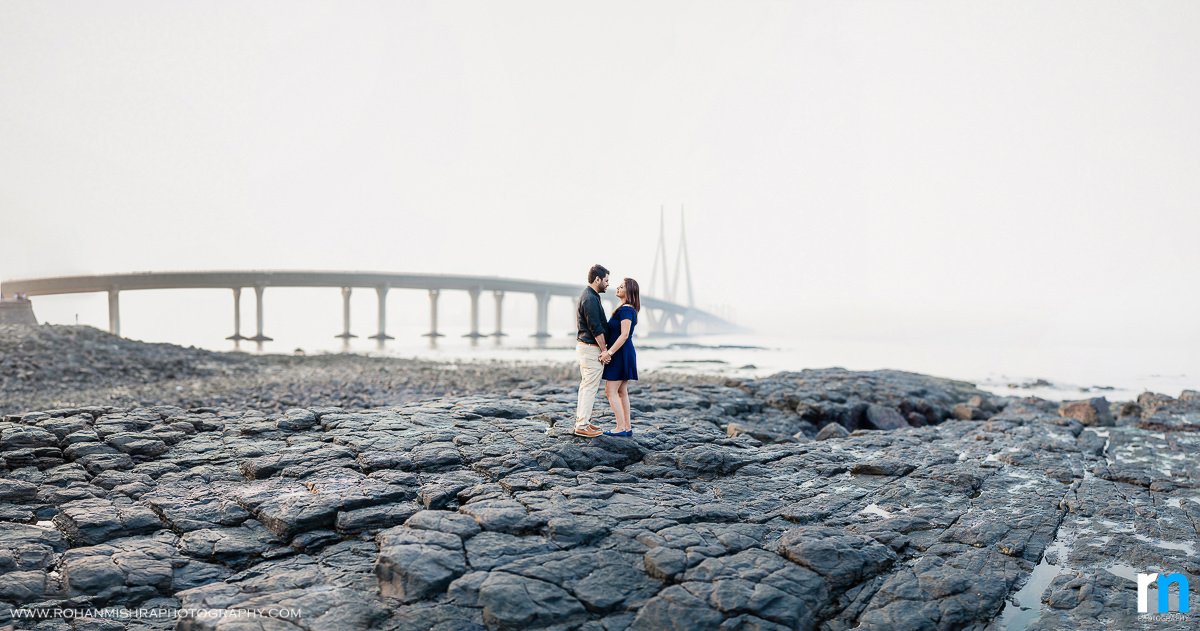
Most of us "Photographers" call this technique "Bokeh Panorama" or "Brenizer Method".Here is the deconstruction of this image:
- We chose the Bandra–Worli Sea Link as a backdrop for its urban and contemporary look.
- We took 81 individual shots and stitched them together to achieve this masterpiece.
- The chemistry between the couple made this shot an absolutely magical one.
- Each frame shot at F/2, ISO-200, 1/200sec using Nikon D810 & 85 1.8
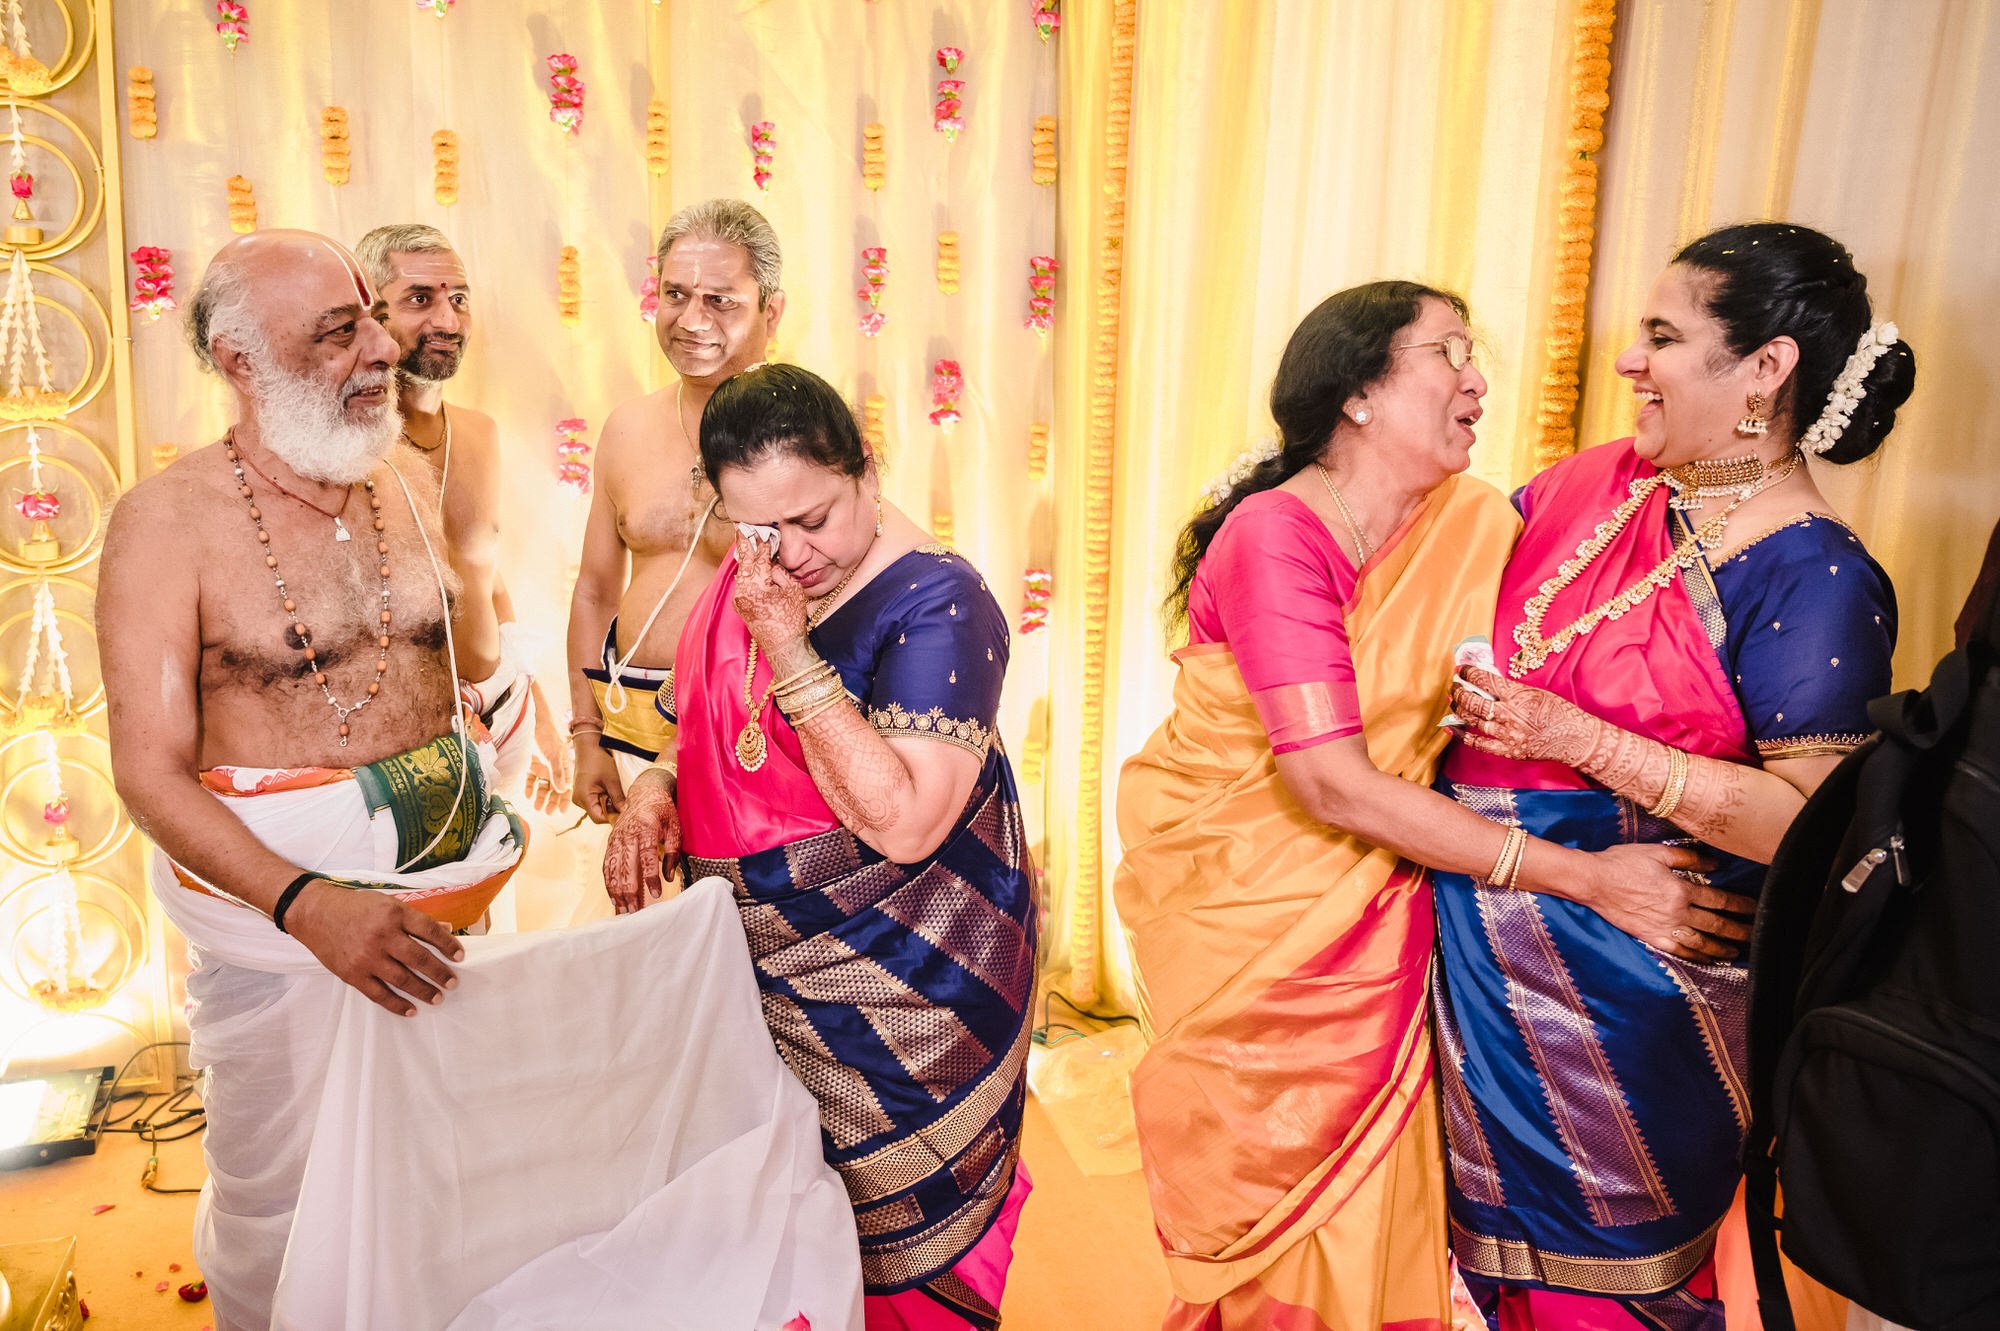
Storytelling
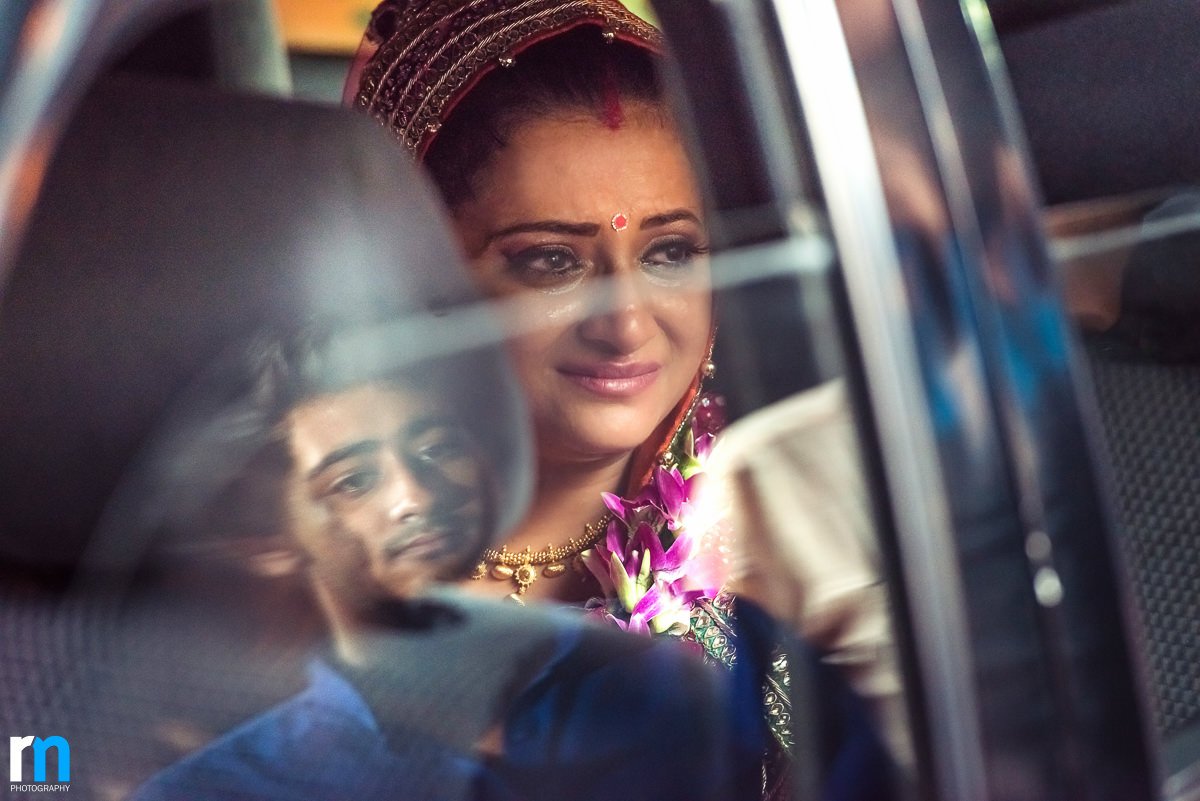
Storytelling is timeless. In weddings, we get more opportunities to capture the story of the moment in one single shot. You’ve heard the phrase “a picture is worth a thousand words” many times, right? As a photographer, I believe this is true when we dedicate ourselves to seeking out images that really tell a story.
The below shot is from a Vidai ceremony where the bride bids goodbye to her family as she steps in her next phase. Her emotions combined with the reflection of her brother completes the story in one frame!
EXIF: Nikon D800 | AF-S NIKKOR 70-200mm F/2.8G ED VR II | 200mm | f/4 | 1/60 sec. | ISO 2500.
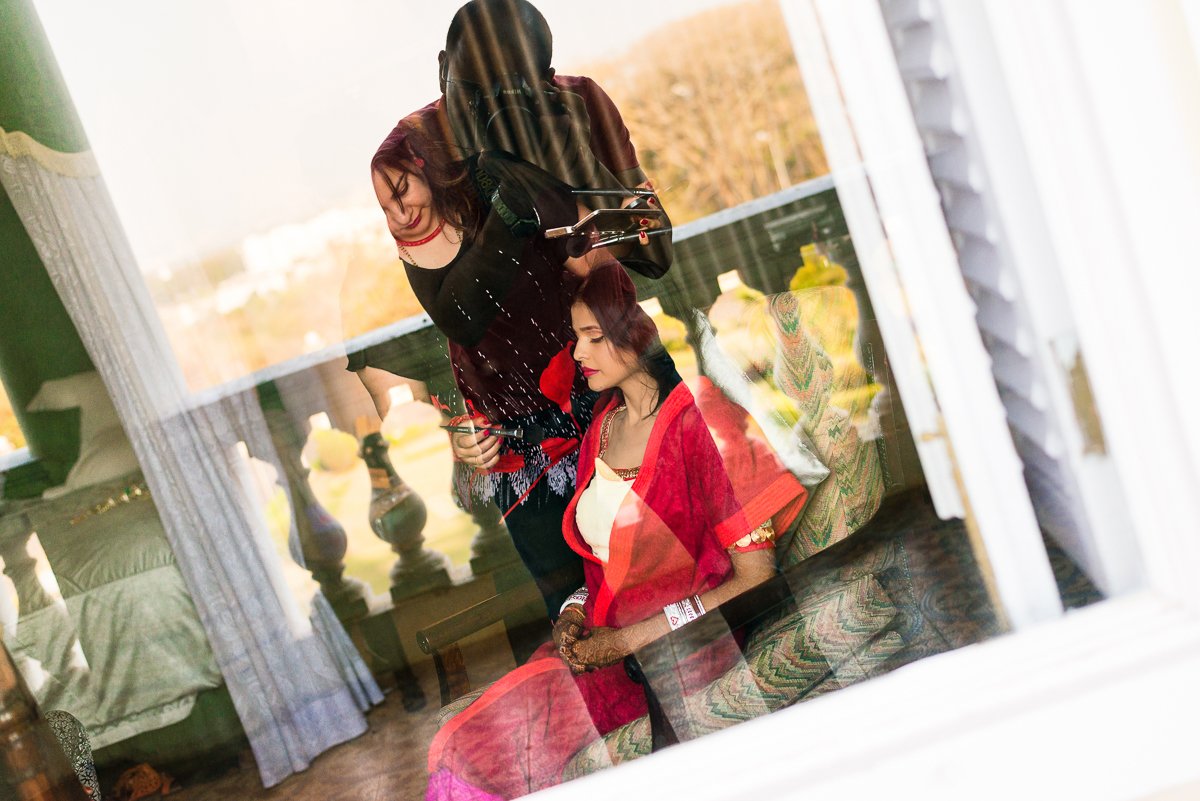
Reflections
We photographers use reflections only to elevate our creative skills. Basically to completely alter the image from something fairly straightforward to something richer or abstract or otherwise more artistic. Creativity and good-quality photos depend on the photographer being able to see things differently, rather than seeing only one part of a larger scene.
Here we have used the technique of reflection and have tried to capture the story of the two most important people for a Bride to make her look absolutely breathtaking on her D-day i.e. A Make-up artist and a good photographer.
Exif: NIKON D800, F-stop: f/2.8, Exposure time: 1/800 sec, ISO: 800, Exposure bias: -1 step, Focal Length: 50mm
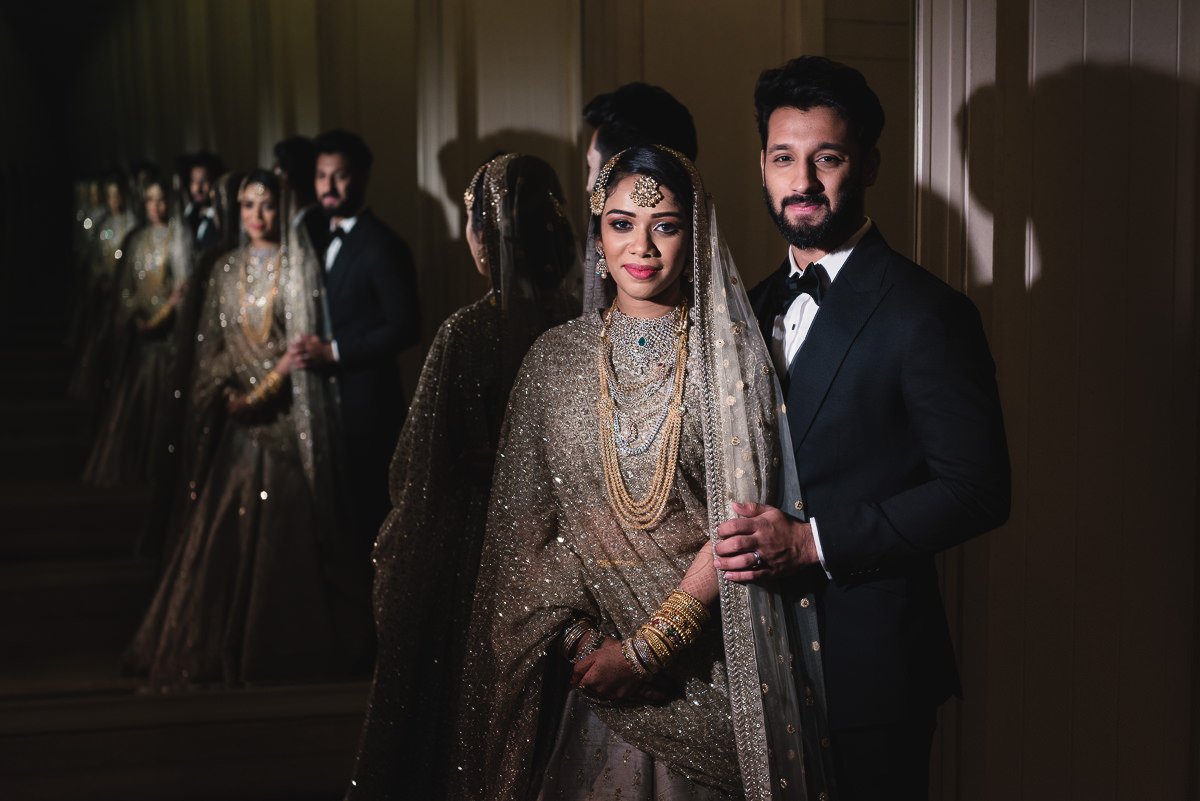
Exif: NIKON D810, Tamron 24-70mm f/2.8 at f/4, 1/160 sec, ISO: 400, Off camera flash
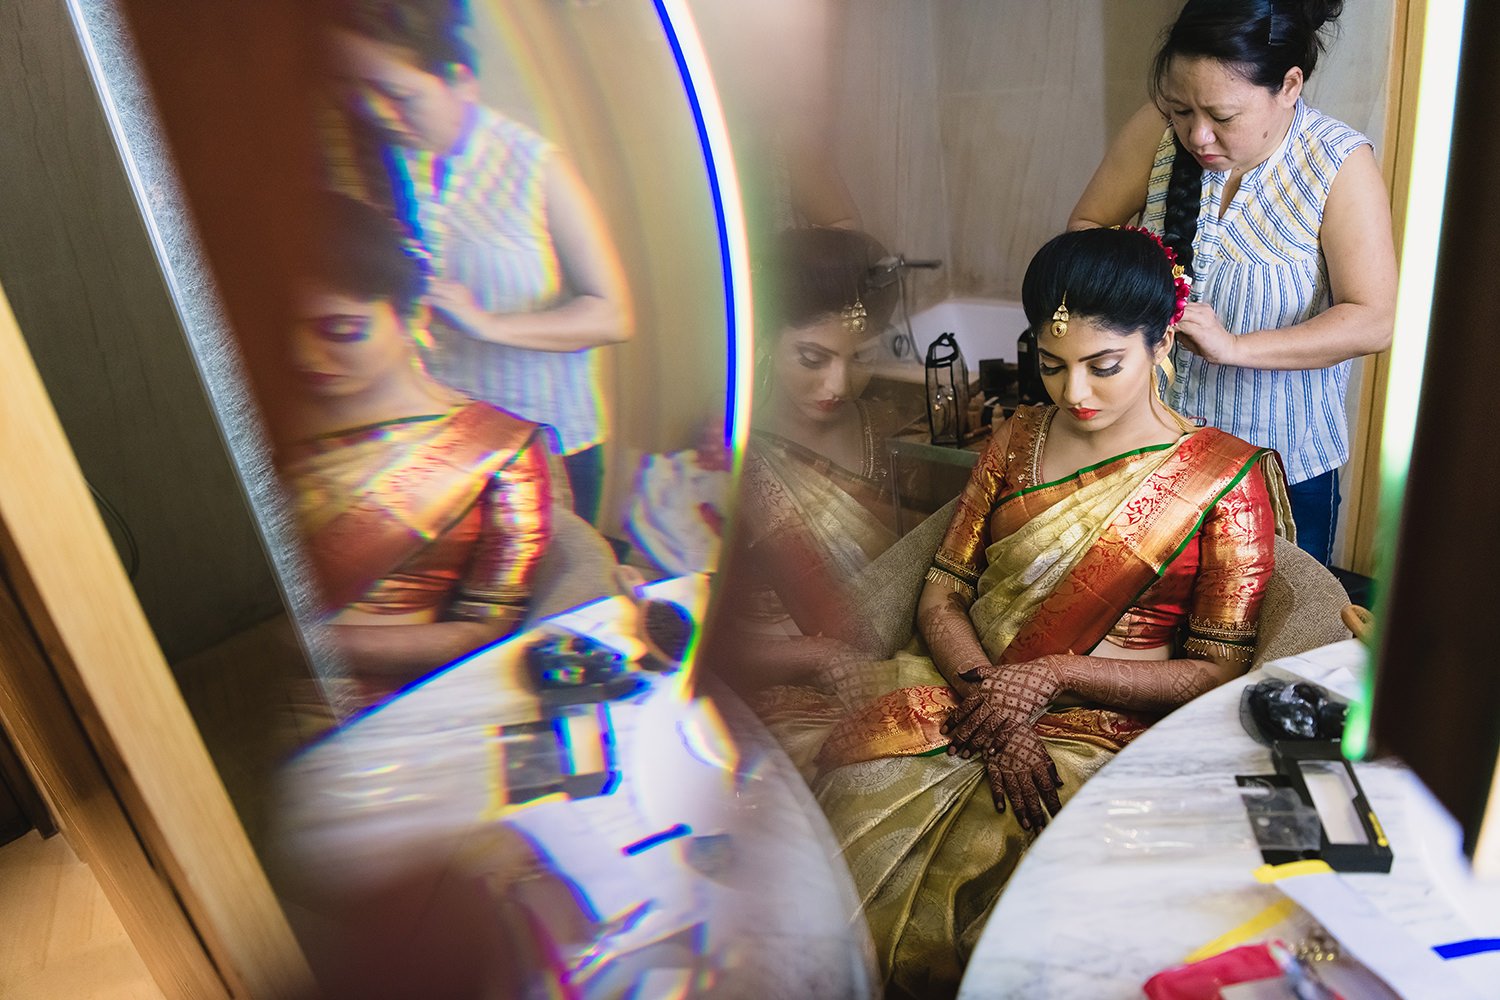
Motion Blur with Long Exposure!
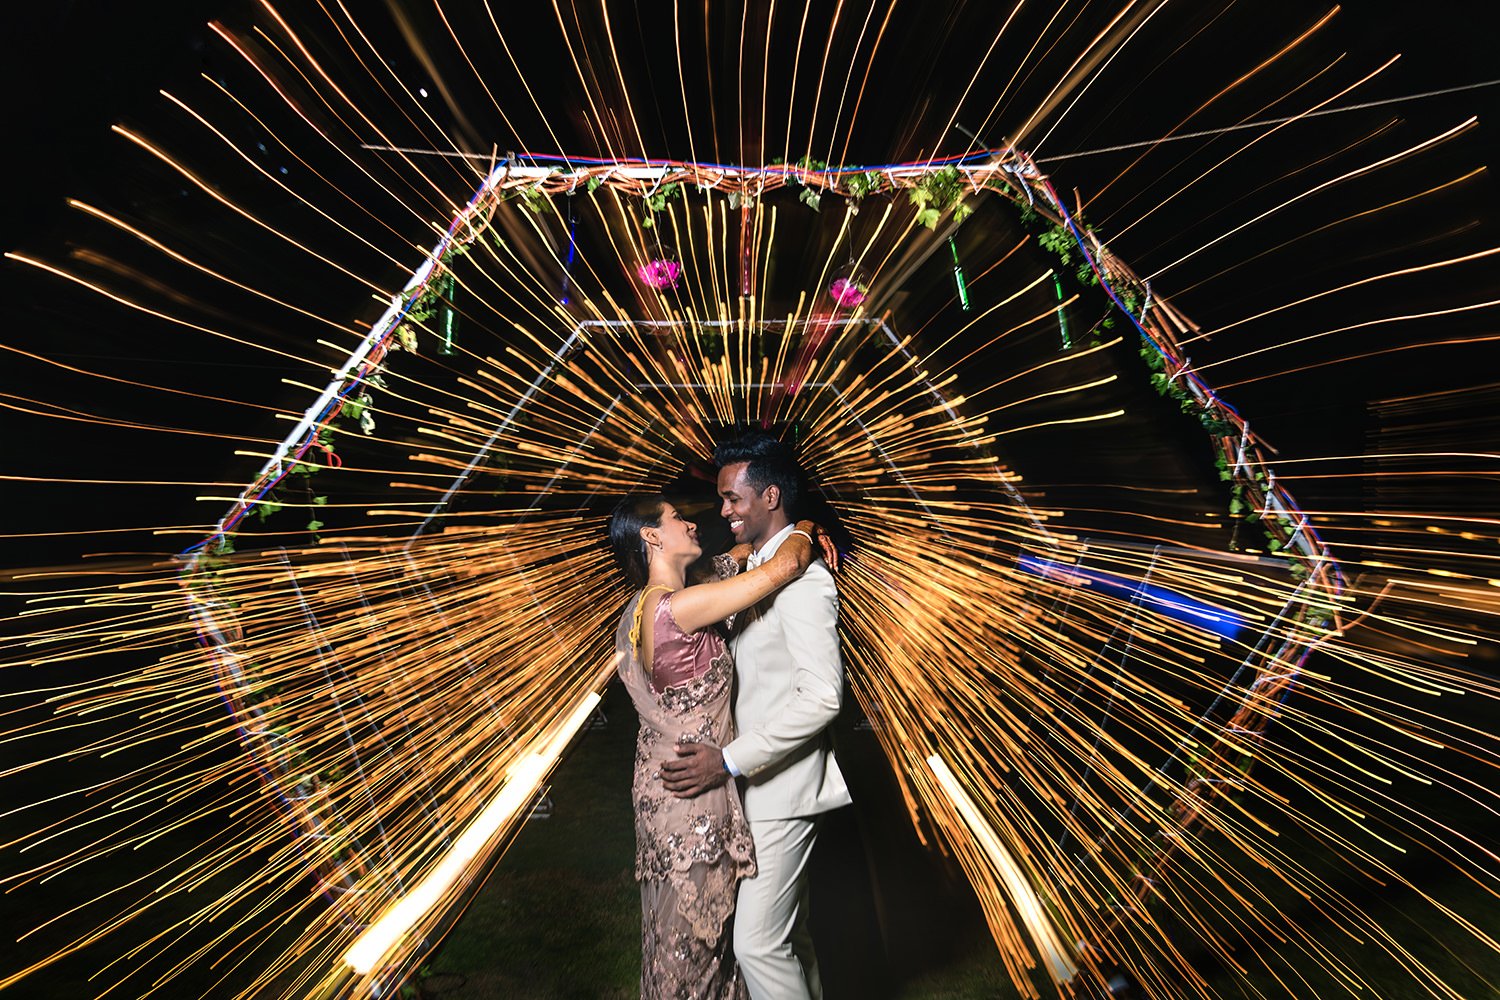
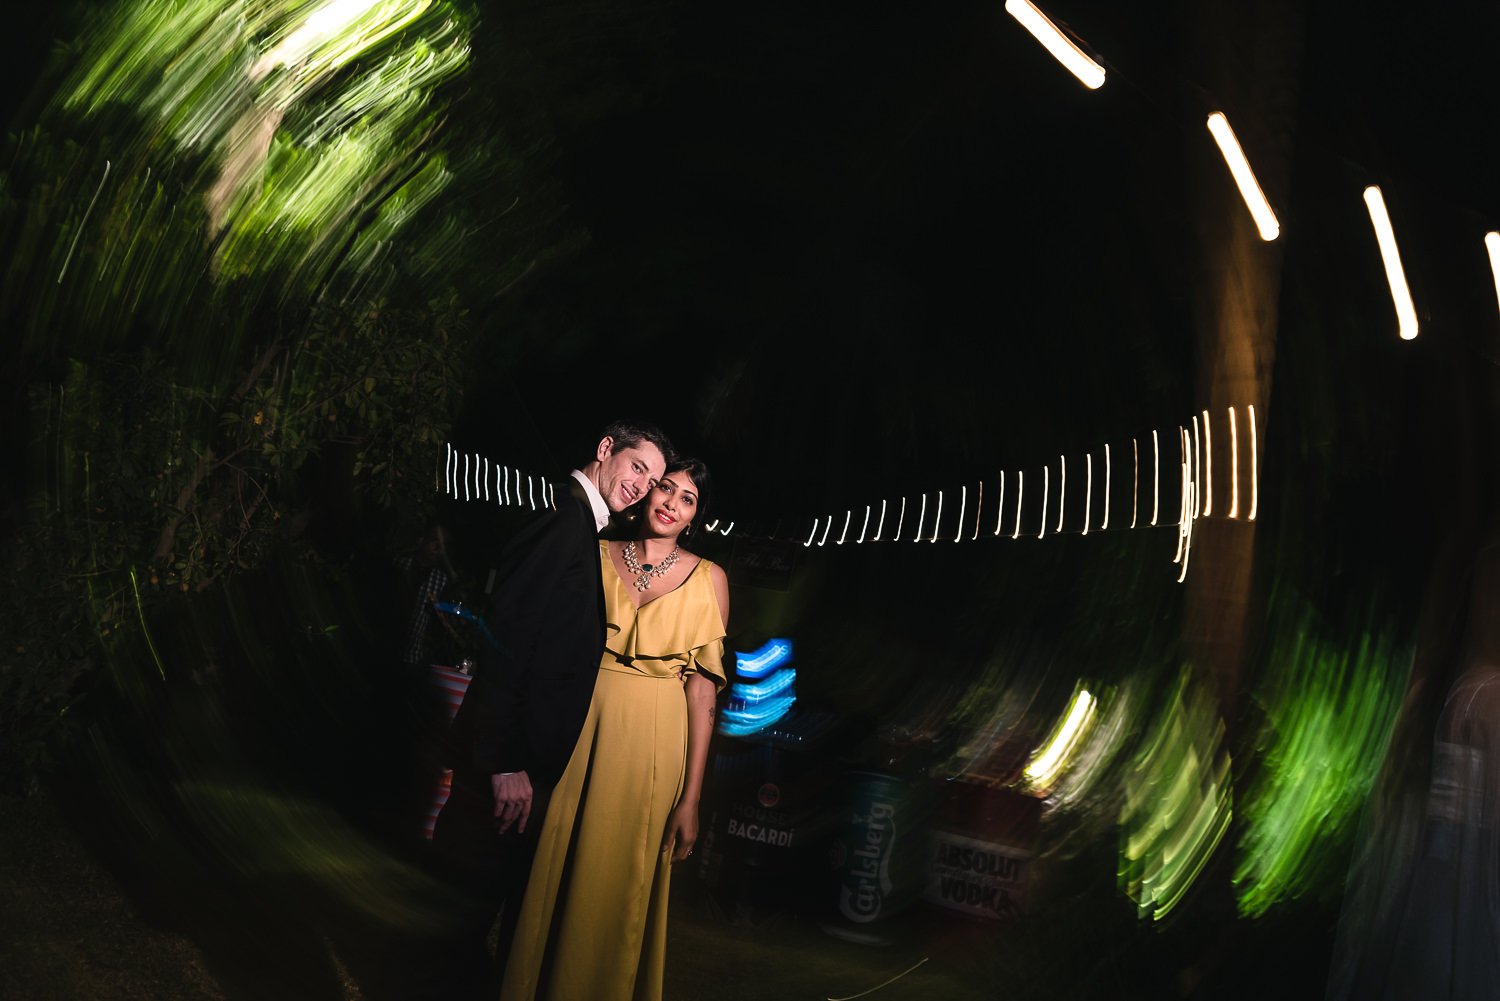
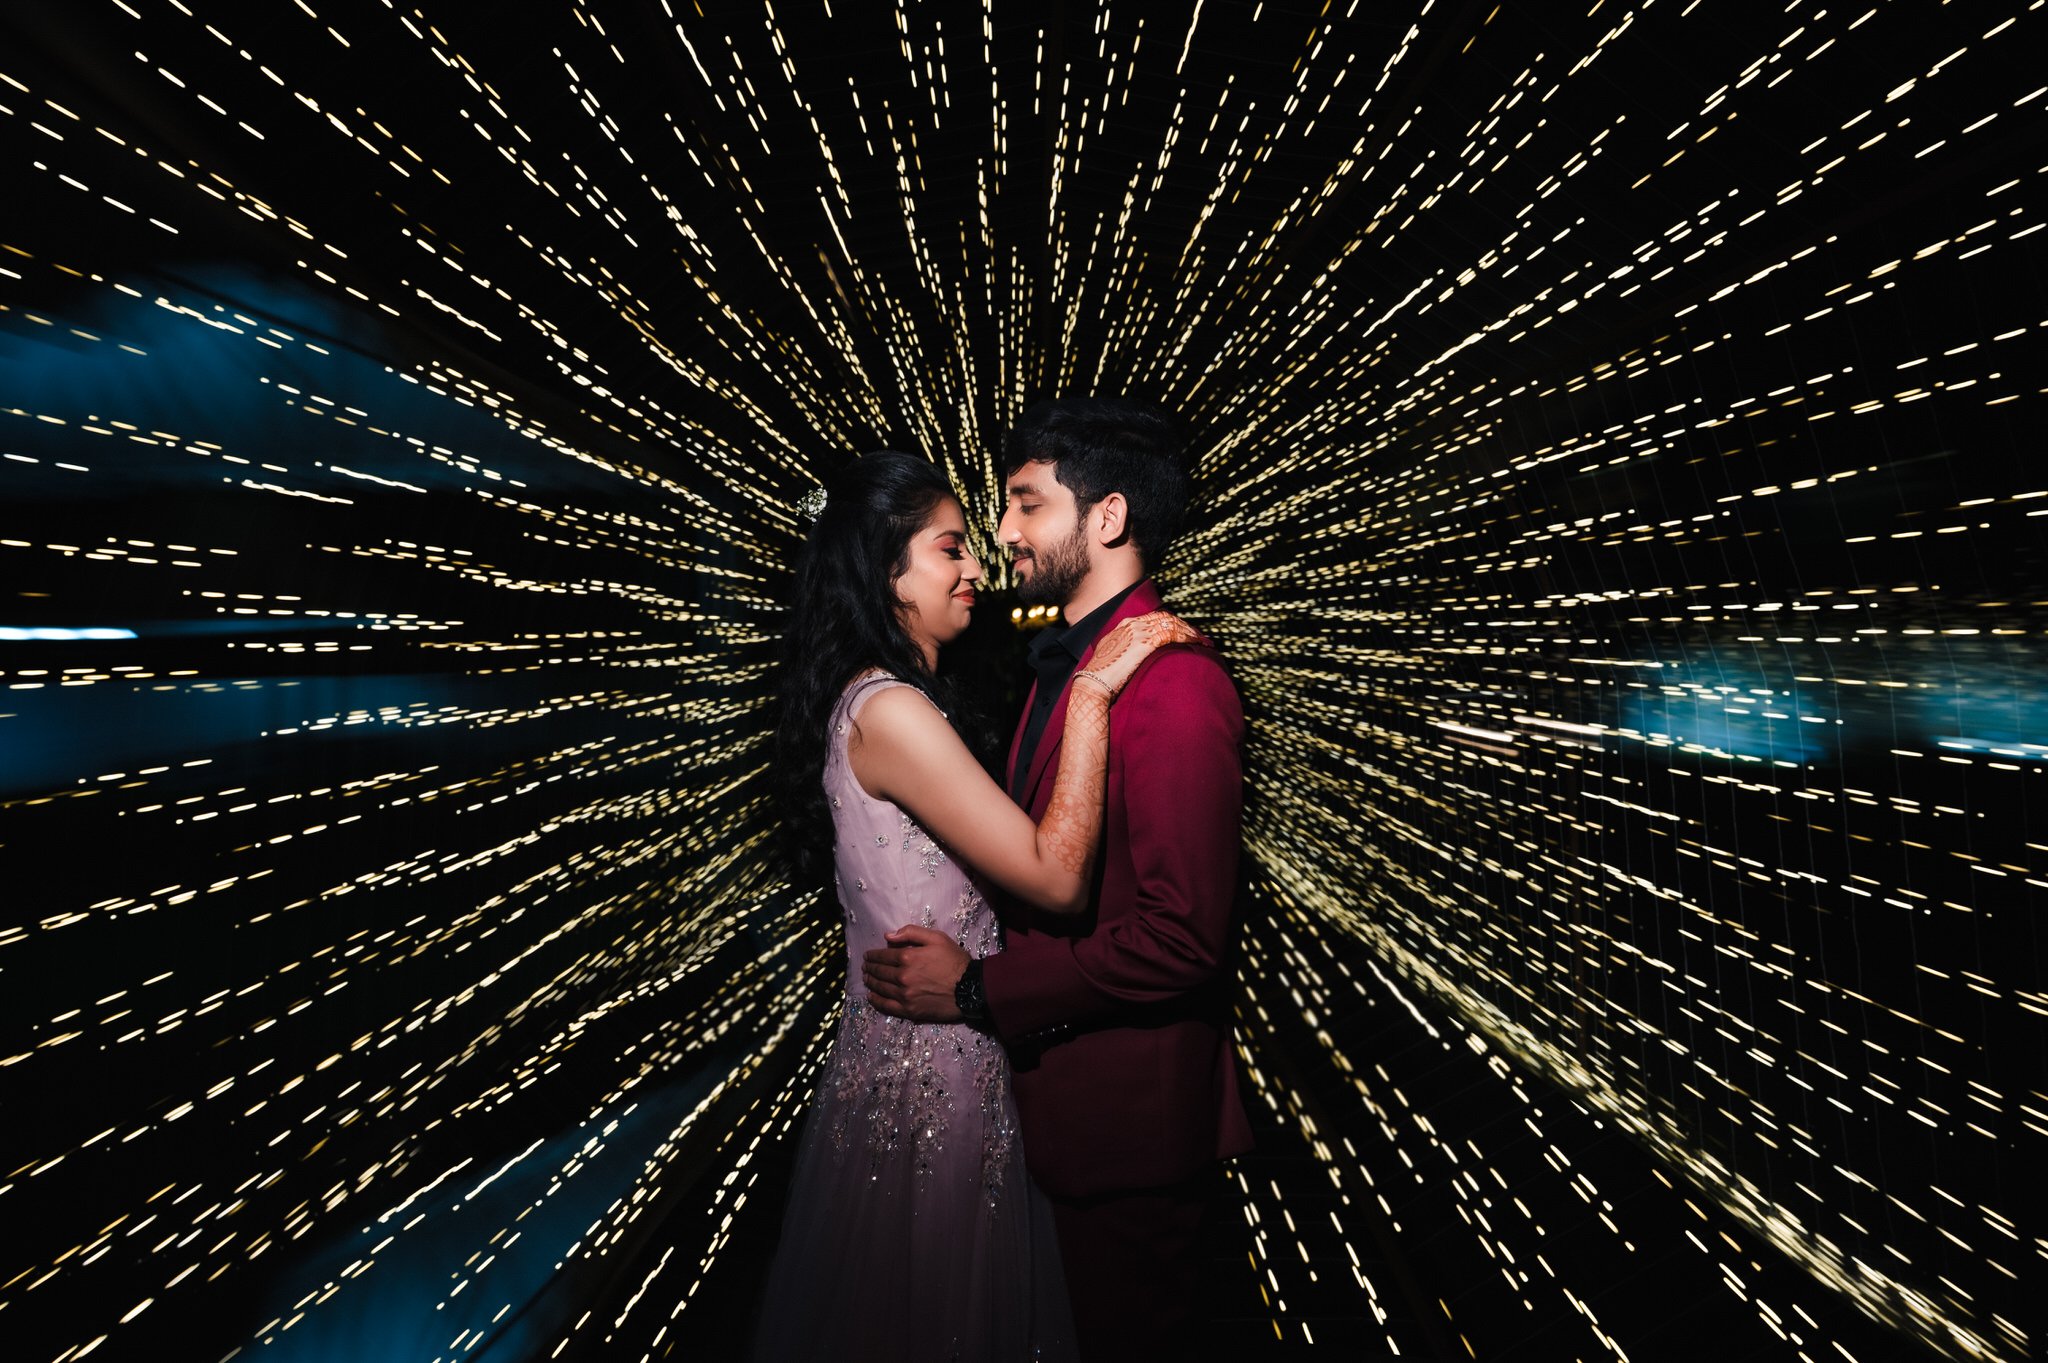
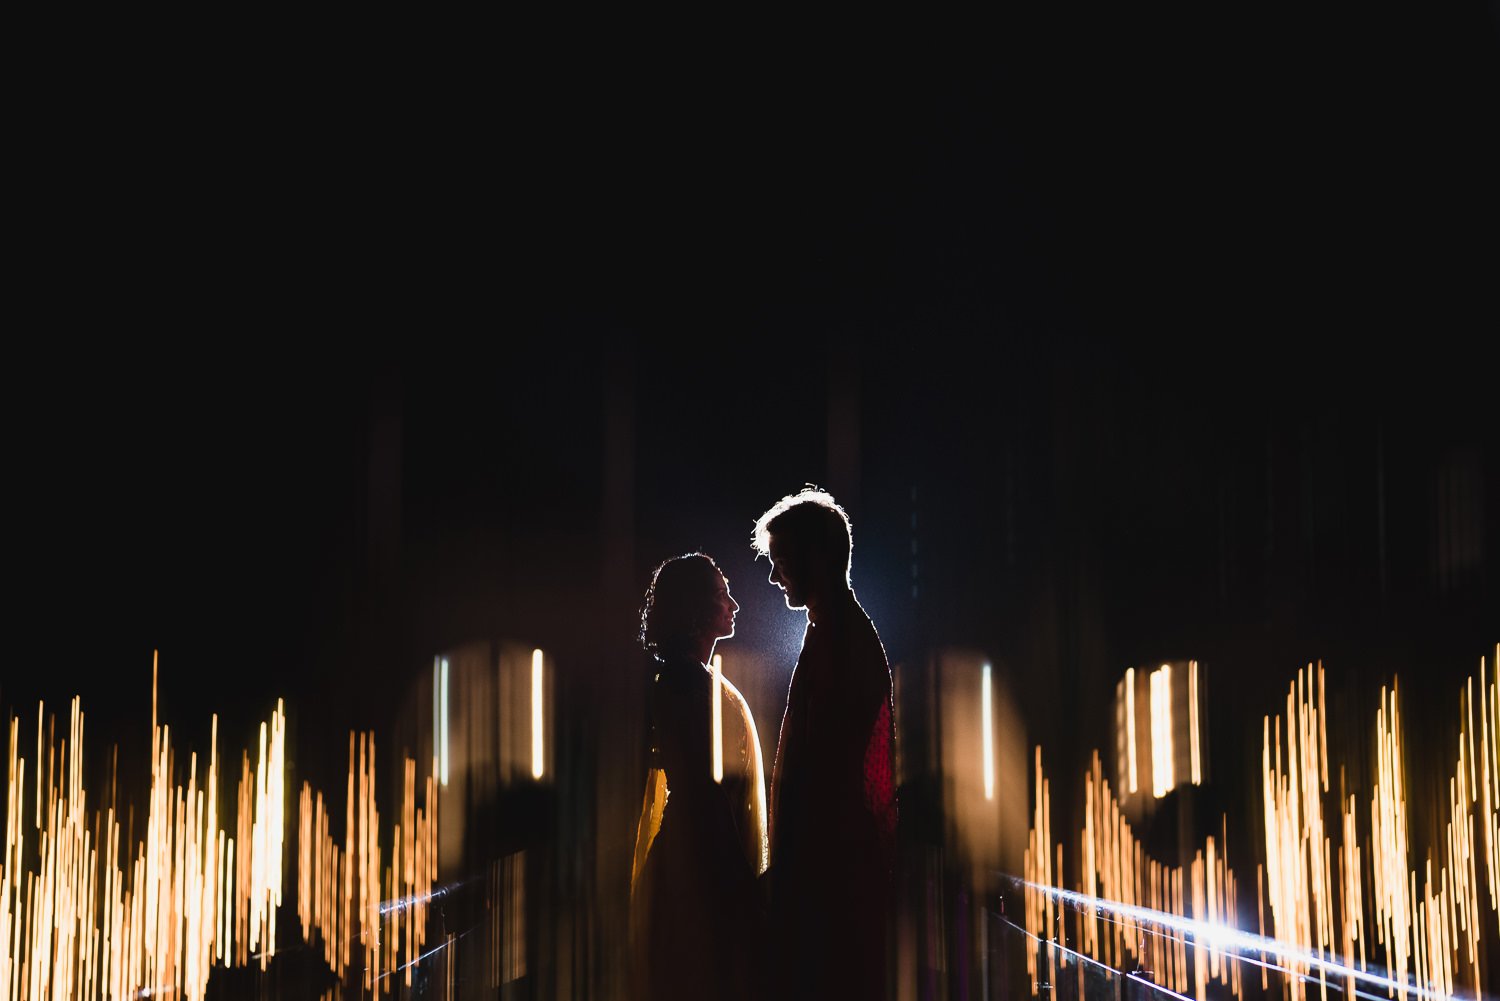
To understand about the long exposure technique one has to be very clear with the basics first. The technique is dependent upon 3 major components i.e. Exposure that can be controlled with the sensitivity of the sensor (ISO), aperture of the lens (f-number) and the shutter speed. Longer the exposure times allows you to capture clouds, water, or other moving objects in a smooth, flowing manner, while maintaining sharpness and clarity on still objects.
Long exposure can be used to create a bright photo in low light conditions or to create motion blur to the moving elements of the photograph.
Exif: NIKON D850, 24-70mm F2.8 at f/4, 1/10 sec, ISO: 100, Off-camera flash
Composite photography
STEPS:
Visualize The Final Image
Shoot both the images without any camera shake (Use tripod)
Color correct both the images with exact same settings
Open images as layers in photoshop
Edit-->Auto-Align Layers-->Select ‘AUTO’-->OK
Use layer mask to hide/ reveal the content for your final image
Merge layers and crop the edges
